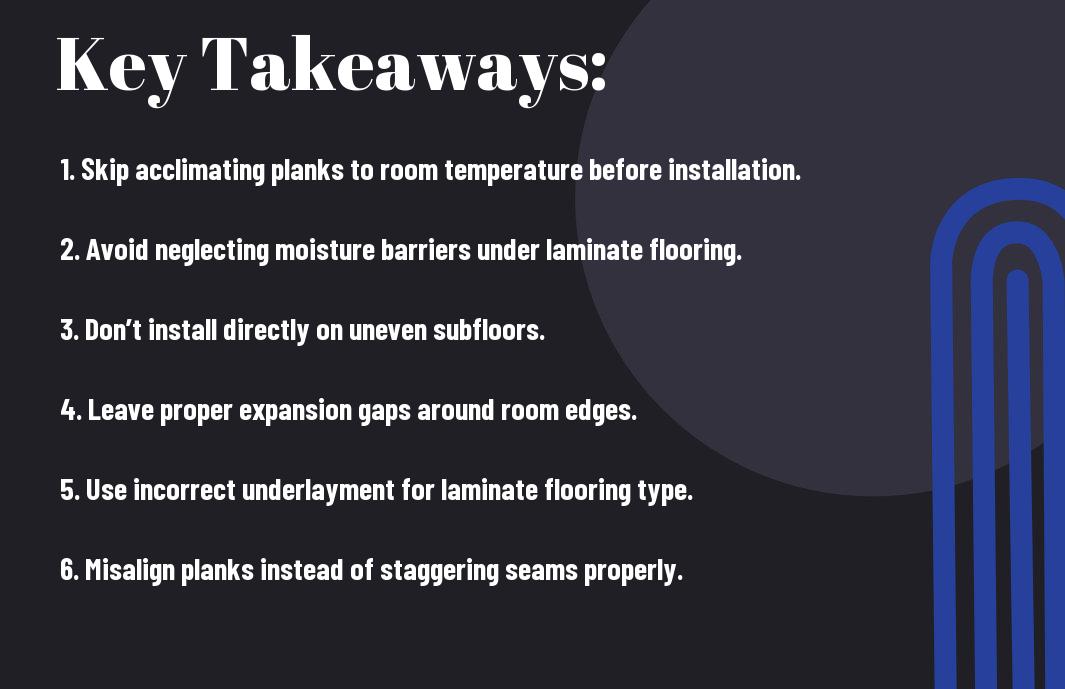
Installation of laminate flooring can elevate the look of your space while offering durability and ease of maintenance. However, you might encounter pitfalls that can compromise the quality and longevity of your new floors. In this article, we’ll guide you through ten common mistakes that you should avoid to ensure a successful and smooth installation process. By understanding these missteps, you can achieve a stunning result without unnecessary hassle or expense.
Ignoring Subfloor Preparation
Before you probe laminate flooring installation, taking the time to prepare your subfloor can make all the difference. Neglecting this step may lead to unsightly imperfections and premature wear on your new flooring. Ensuring that your subfloor is clean, dry, and free of debris will set the foundation for a successful installation, allowing you to enjoy your new floors for years to come.
The Importance of a Level Surface
A level surface is vital for your laminate flooring to perform well and look good. If your subfloor is uneven, it may cause your planks to warp or buckle over time. By ensuring your subfloor is meticulously leveled before installation, you enhance the stability of your laminate, leading to an impeccable finish.
Moisture Barriers: The Unsung Hero
Using a moisture barrier is often overlooked during laminate flooring installation, yet it plays an crucial role in protecting your investment. This barrier prevents moisture from seeping up from the subfloor, which can lead to warping and mold growth, ultimately damaging your laminate flooring. Take the extra step to include a quality moisture barrier to ensure longevity and durability in your flooring.
A moisture barrier acts as a shield against dampness that could otherwise infiltrate your laminate flooring and cause serious issues. Even if you’re working with concrete subfloors that are typically more susceptible to moisture, installing a barrier helps keep moisture at bay, safeguarding your laminate’s integrity. By prioritizing this simple yet effective step, you can rest assured that your flooring will maintain its appearance and performance, staying beautiful and functional for years to come.
Skipping the Acclimation Process
Neglecting the acclimation process is a significant mistake that can lead to troublesome issues after installation. Laminate flooring needs to adjust to the temperature and humidity of your home before laying it down. Without this vital step, your flooring may warp, buckle, or gap over time, compromising both its appearance and durability. Take the time to acclimate your laminate planks for a successful installation that will stand the test of time.
Understanding Temperature and Humidity Effects
Temperature and humidity can drastically affect laminate flooring as it expands and contracts with changes in the environment. Here’s a breakdown:
| Low Temperature | Can cause laminate to contract, leading to gaps. |
| High Temperature | Can cause laminate to expand, resulting in buckling. |
| Low Humidity | Can lead to shrinkage and separation between planks. |
| High Humidity | Can cause planks to swell and warp. |
Proper Acclimation Timing for Optimal Results
To achieve the best results, it is vital to allow your laminate flooring to acclimate for at least 48 hours in the room where it will be installed. This duration allows the material to adjust to the environmental conditions, helping to prevent future complications. During this time, make sure to keep the flooring in its original packaging, laid flat, and away from direct sunlight or extreme temperature changes.
Additionally, ensure the home’s climate is stable during the acclimation period; temperatures should ideally range between 60°F and 80°F with relative humidity levels between 30% and 50%. These factors promote uniform expansion and contraction across the laminate planks. Taking these steps seriously will help you achieve a flawless and lasting installation, minimizing problems down the line.
Incorrect Plank Installation Direction
Choosing the wrong direction to install your laminate flooring can significantly affect the overall aesthetic and functionality of your space. You want to ensure that the planks are aligned to maximize the natural light and flow of your room. Taking the time to consider the best direction will not only enhance the visual appeal but also improve the longevity of your flooring.
Factors Influencing Installation Direction
Several factors can influence the installation direction of your laminate flooring. It’s important to consider:
- The direction of natural light.
- The layout of the room and furniture placement.
- The shape and size of the room.
Perceiving these elements can significantly impact your flooring’s final look and feel.
Visual Impact: Creating the Right Flow
The direction of your laminate flooring can create a sense of flow and continuity throughout your space. By aligning your planks with the longest wall or the primary light source, you’ll cultivate an airy, open atmosphere. This simple adjustment can make even a narrow room feel wider and more inviting. Additionally, consider how the flooring will transition into adjoining areas; this will help you maintain a harmonious aesthetic throughout your home.
Underestimating Expansion Gaps
One of the most common errors during laminate flooring installation is underestimating the importance of expansion gaps. These gaps allow your flooring to expand and contract naturally with changes in temperature and humidity, preventing buckling or warping over time. Failing to leave adequate space can lead to costly damages, impacting the longevity and appearance of your flooring.
The Science Behind Expansion and Contraction
Laminate flooring is made from composite materials that are sensitive to moisture and temperature changes. As the environment shifts, your flooring will expand in warmer conditions and contract when it cools. Understanding this natural behavior is key to ensuring a successful installation that can withstand these fluctuations without sustaining damage.
How to Properly Measure and Maintain Gaps
To ensure your laminate flooring can accommodate expansion and contraction, you should maintain an appropriate gap around the perimeter. Typically, a gap of 1/4 inch to 1/2 inch is recommended for walls and fixed objects. Using wedges during installation can help keep these gaps consistent. Regularly check the gaps after installation, especially during seasonal changes, to guarantee they remain adequate.
When maintaining expansion gaps, start by measuring the distance from your laminate flooring to the nearest wall or obstacle during installation. Use spacers or wedges to help you achieve this distance consistently. Additionally, make sure to account for any room sizes, as larger areas may require slightly larger gaps to accommodate more significant expansion. If you notice any gaps narrowing over time due to shifts or changes, carefully readjust and maintain them to avoid future problems, ensuring your flooring remains in top condition.
Failing to Use the Right Tools
As far as laminate flooring installation, using the right tools can significantly affect the outcome of your project. Relying on improvised or inappropriate tools can lead to uneven cuts, damaged planks, and ultimately, a floor that doesn’t meet your expectations. It’s vital to equip yourself with the proper tools to ensure a smooth and successful installation process.
Essential Tools for a Smooth Installation
Your toolkit should include vital items such as a miter saw for accurate cuts, a tapping block for snugly fitting planks, and a spacers set to maintain proper expansion gaps. Having a measuring tape, utility knife, and level on hand will also help you achieve clean lines and a balanced surface, ensuring that your new laminate floor looks just as it should.
Common Tools Mistakes That Can Cost You
Many DIYers underestimate the significance of using the right tools. For instance, using a dull saw blade can cause splintering, while skipping spacers can lead to buckling over time. Inadequate tools may also result in mistakes that require you to buy extra materials, adding unnecessary costs to your project.
One common mistake is underestimating the importance of tool condition; using worn-out or damaged tools compromises the precision of your cuts. Additionally, some homeowners neglect to invest in quality equipment, opting for cheaper alternatives that don’t perform as needed. Each of these oversights not only increases the risk of damaging your flooring but can also lead to a time-consuming and costly rework. Prioritizing the right tools and their maintenance will help you achieve a flawless laminate installation.
Overlooking Care and Maintenance Instructions
During laminate flooring installation, one common mistake is failing to pay attention to care and maintenance instructions provided by the manufacturer. Proper upkeep is imperative for extending the lifespan of your flooring, ensuring it remains visually appealing and functional. By disregarding these guidelines, you may inadvertently cause damage or decrease the performance of your laminate. Always refer to the specific maintenance requirements for your flooring type to promote its longevity and overall appearance.
Maintenance Myths That Could Damage Your Floor
Many homeowners are misled by popular myths about cleaning and maintaining laminate flooring. One such myth is that excessive water is acceptable for cleaning, as the resilience of laminate can handle it. However, too much moisture can lead to warping or bubbling, compromising your flooring’s integrity. It’s vital to avoid common misconceptions and focus on methods that align with your laminate’s specific care instructions.
Establishing a Sustainable Cleaning Routine
Developing a sustainable cleaning routine for your laminate flooring is imperative for maintaining its beauty and durability. Make it a point to sweep or vacuum regularly to prevent dirt and debris buildup, which can scratch the surface. Additionally, use a damp mop with a cleaner appropriate for laminate flooring to remove any stains or spills. Adopting this routine will keep your floors looking their best while ensuring their longevity.
To establish an effective cleaning routine, set a schedule that fits your lifestyle, ensuring you clean high-traffic areas frequently and perform deeper cleanings on a less regular basis. Use soft bristle brooms or vacuums with appropriate attachments to avoid scratching while cleaning. Incorporating area rugs at entry points can further prevent dirt from being tracked onto your flooring, minimizing the need for excessive cleaning. By following these simple steps, you can maintain your laminate floors in optimal condition for years to come.
To wrap up
Conclusively, avoiding these 10 common mistakes during your laminate flooring installation can lead to better results and enhance the longevity of your floor. By taking the time to prepare your subfloor, correctly acclimating your laminate, and following proper installation guidelines, you ensure a flawless finish. Focus on appropriate tools and techniques and pay attention to details like expansion gaps and underlayment. Your efforts will not only increase the aesthetic appeal of your space but also provide you with a durable floor that stands the test of time.
