
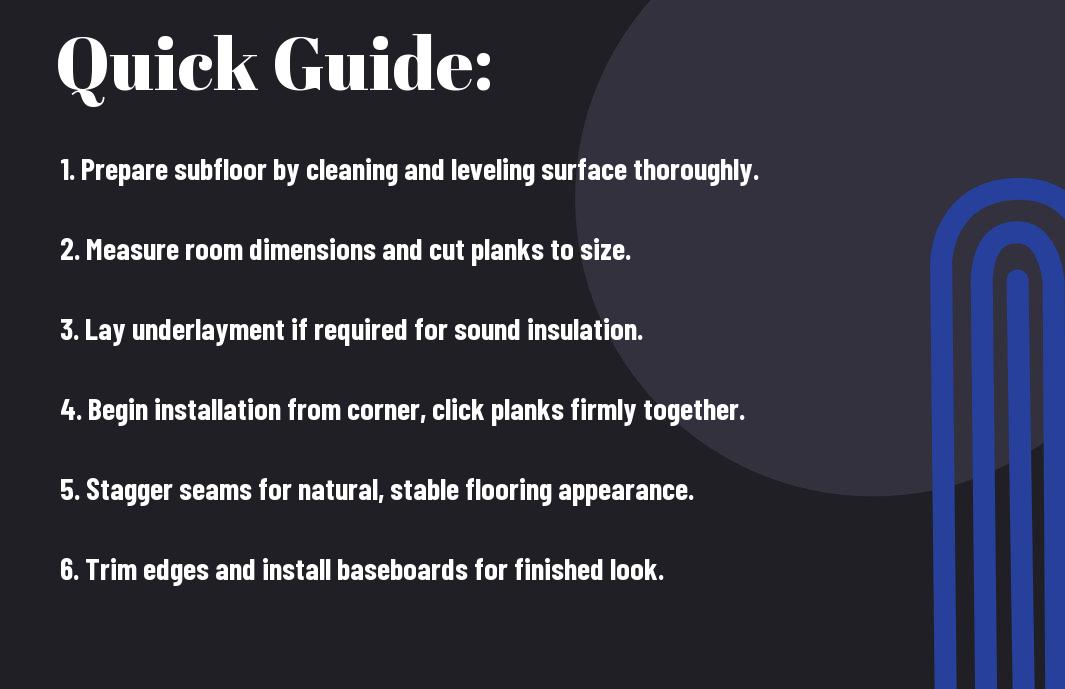
You can transform your space with SPC vinyl flooring that offers durability and style. If you’re ready to tackle this project yourself, this step-by-step guide will equip you with the knowledge and confidence needed for a successful installation. From gathering necessary materials to the final touches, you’ll find everything you need to know to achieve a professional look in your home. Let’s explore the crucial steps for a seamless SPC vinyl flooring installation!
Preparing Your Space for SPC Vinyl Flooring
Before plunging into installation, getting your space primed for SPC vinyl flooring is important for achieving the best results. Start by removing any existing flooring materials, furniture, and trim from the area, clearing the way for a smooth installation process. Ensure the space is clean and dry, free from dust and debris that could interfere with your new floor’s adhesion and performance.
Assessing Your Subfloor: The Foundation for Success
Your subfloor plays a pivotal role in the success of your SPC vinyl flooring installation. Take the time to inspect for unevenness, moisture, and any signs of damage. A level, clean, and dry subfloor will help your new flooring perform well over time and prevent problems such as warping or separation.
Tools and Materials You’ll Need: The Essential Arsenal
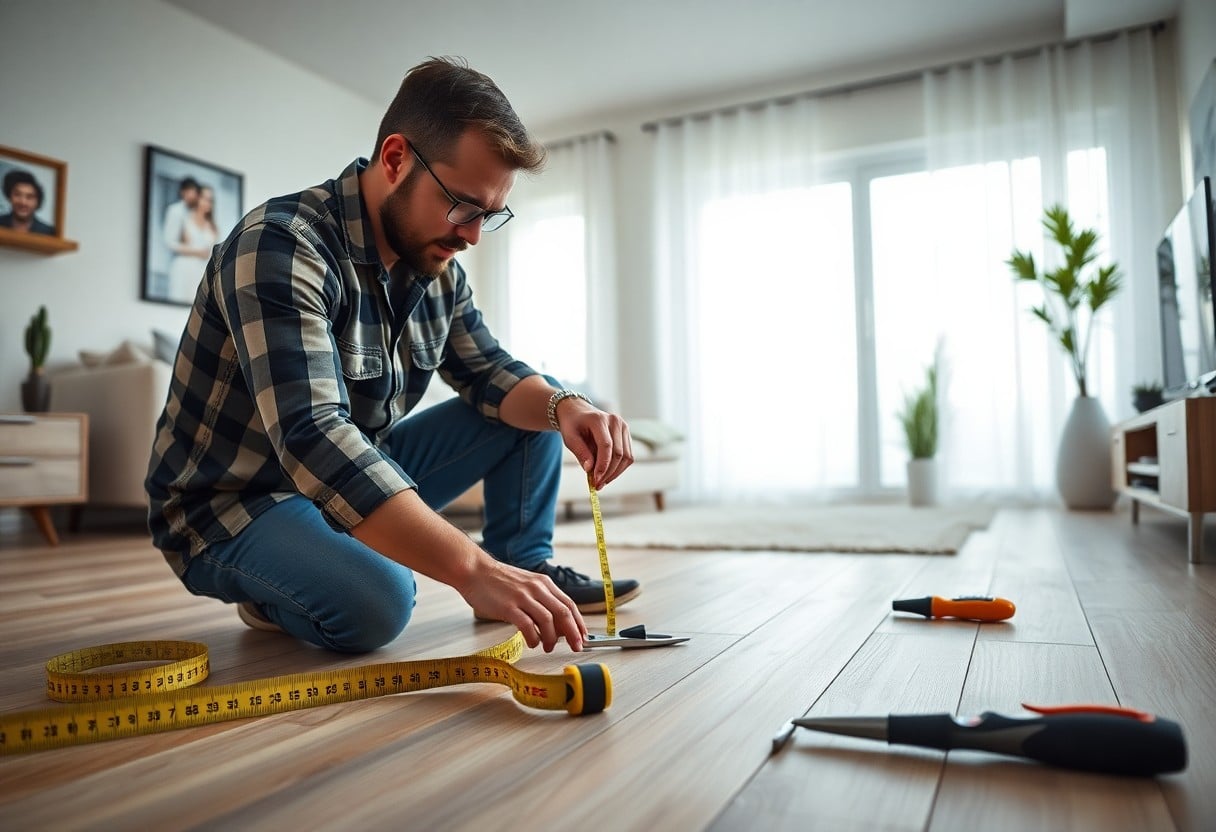
Gathering the right tools and materials will simplify your installation process and ensure a professional finish. Essential items include a utility knife, straight edge, measuring tape, a tapping block, and a pull bar. Don’t forget to stock up on spacers to facilitate expansion around the perimeter of the room.
A utility knife and a straight edge are fundamental for cutting your vinyl planks to size, ensuring precise and clean edges. A measuring tape helps you gauge your space and plan your layout effectively. For installation efficiency, a tapping block allows you to secure planks snugly together without damaging the edges, while a pull bar helps you fit planks in tighter spaces where your hands can’t reach. Having these tools ready will streamline your work and enhance your overall experience during the installation process.
Mastering the Installation Technique
Becoming proficient in SPC vinyl flooring installation hinges on understanding the vital techniques that make the process smooth and efficient. With a bit of practice, you can achieve professional-looking results in your home. Each step demands attention to detail, particularly when it comes to maneuvering the materials and executing the installation method. Pay close attention to your approach as this will set the tone for the entire flooring project.
Understanding the Click System: Seamless Connections
The click system used in SPC vinyl flooring allows for easy and quick installation without the need for glue or nails. Each plank is designed with tongue-and-groove edges that securely lock together; alignment is key. By simply angling a plank and dropping it into place, you create a seamless connection that maintains the floor’s stability and results in a smooth appearance. This technique also enables you to disassemble and replace planks if needed.
Cutting and Fitting: Navigating Corners and Edges
Accurate cutting and fitting around corners and edges significantly enhance the final look of your SPC vinyl flooring. Using a sharp utility knife, precision is vital when trimming planks to fit awkward spaces while maintaining clean lines. Measure twice, cut once to avoid mistakes, and consider using a jigsaw for more complex shapes. A tight fit against walls and obstacles will help minimize visibility of seams and elevate the overall finish.
To achieve effective cutting and fitting, start by measuring your space carefully. Utilize a straightedge and mark cutting lines clearly on the plank. When dealing with corners, you may want to create a template from cardboard to ensure you have the right angle. For tricky areas, such as door frames or vents, trace around the obstacle before cutting to ensure a perfect fit. Bear in mind that leaving a small expansion gap at the edges will accommodate the flooring’s natural movements, while also preventing buckling or warping over time.
Enhancing Your Installation: Tips for a Professional Look
Attention to detail will elevate your SPC vinyl flooring installation from basic to professional. To ensure that your finished project looks immaculate, follow these tips:
- Ensure the subfloor is clean, dry, and level before installation.
- Utilize the right tools for cutting and fitting vinyl to avoid jagged edges.
- Consider using a tapping block to snugly secure planks together.
- Perform a dry lay of planks before adhering for optimal layout.
The end result will be a flawless floor that elevates your home’s aesthetic.
Achieving the Perfect Expansion Gap: Why It Matters
Adequate expansion gaps along walls and fixed objects are important to accommodate the natural expansion and contraction of SPC vinyl flooring due to temperature and humidity changes. Leaving a gap of about 1/4 inch allows the floor to move without buckling or warping. This small detail might seem insignificant, but failing to provide sufficient space can lead to costly repairs and replacement down the line.
Aligning Patterns and Designs: Visual Harmony in Your Space
The alignment of patterns and designs creates a cohesive and visually appealing look in your space. Start by planning how the planks will lay out in relation to your room’s architecture, such as carefully matching lines and ensuring that transitions between rooms remain consistent. This strategic placement not only enhances aesthetics but also maintains continuity, creating a seamless flow from one area to the next.
For example, if you select a wood-look vinyl, aligning the planks so that they mimic the natural flow of wood will provide a more authentic feel. Pay close attention to details, such as matching grain patterns and selecting planks of similar tone. Investing time in this alignment lays the groundwork for a beautiful finished product, enhancing not just the visual appeal but also the overall ambiance of your home.
Post-Installation Care: Maintaining the Beauty
Maintaining the charm of your SPC vinyl flooring involves simple yet effective care practices that keep it looking new. Ensure you adopt a routine that includes regular cleaning and prompt attention to any issues. The right maintenance will not only enhance the appearance of your floors but also significantly extend their lifespan, ensuring you get the most out of your investment.
Cleaning and Maintenance Routines: Ensuring Longevity
A preventive cleaning regimen is key to preserving your SPC vinyl flooring’s allure. Sweep or vacuum regularly to eliminate dirt and debris, and use a damp mop with a gentle cleaner for deeper cleans. Avoid harsh chemicals or abrasive tools, which can dull the finish. Establishing a routine will help maintain a pristine appearance and guard against surface wear.
Repairing Damaged Planks: DIY Fixes for Minor Mishaps
Minor damages, such as scratches or dents, can happen over time, but you can easily address them without needing to replace entire planks. For shallow scratches, a simple rubbing compound can minimize the impact. In cases of deeper scratches, you might use a vinyl floor repair kit that contains color-matched filler. This approach ensures you maintain the seamless look of your flooring.
For a more hands-on repair, start by cleaning the area around the damage. Apply the color-matched filler from a repair kit into the scratch, ensuring it fills the entire area. Once it dries, you can gently sand it with a fine-grit sandpaper for a smoother finish. Finally, use a soft cloth to buff the area lightly, restoring your floor’s original gloss and ensuring a cohesive appearance with the surrounding planks. This DIY approach not only saves money but also helps maintain the charm of your SPC vinyl flooring.
Common Pitfalls and How to Avoid Them
Many DIY enthusiasts encounter common pitfalls during SPC vinyl flooring installation, leading to unsatisfactory results. Recognizing these issues in advance can save you time and frustration. Assess the environment, take accurate measurements, and prioritize proper acclimation of the planks before installation. By addressing these factors beforehand, you can achieve a smooth installation process and enhance the longevity of your flooring.
The Most Frequent Installation Errors: Lessons from DIY Enthusiasts
One prevalent error among DIYers is neglecting to level the subfloor, leading to uneven planks and visible imperfections. Many also underestimate the importance of expansion gaps, which can cause buckling. Another common mistake involves the incorrect alignment of planks, particularly during the first row, affecting the overall layout. Taking the time to address these issues can prevent costly corrections later on.
Troubleshooting Tips: Quick Solutions for Common Problems
If you encounter problems during installation, quick troubleshooting steps can save the day. For misaligned planks, realign them gently while the adhesive is still fresh. If you notice gaps between planks, check for debris that might be obstructing them and clear it away. Occasionally, you might find the flooring doesn’t lie flat; ensure that the subfloor is adequately prepped and level. This can make a considerable difference in the final appearance.
- Realign misaligned planks immediately.
- Clear debris causing gaps between planks.
- Check subfloor leveling for optimal placement.
Incorporating a few troubleshooting tips can help you overcome common installation challenges effectively. Keeping tools handy, such as a level, rubber mallet, and square, will aid in quick adjustments. Don’t hesitate to revisit sections as needed; a slower, more deliberate approach can lead to a better finish. Additionally, checking your work periodically during installation can prevent multiple mistakes from accumulating. This ensures your final product meets the highest standards.
- Keep important tools nearby for quick adjustments.
- Revisit sections as necessary for precision.
- Check your work during the process to avoid issues.
To wrap up
Taking this into account, you should now feel confident in your ability to tackle SPC vinyl flooring installation on your own. By following the step-by-step guide, you can transform your space with a durable and visually appealing floor. Ensure you gather the right tools, prepare your subfloor properly, and take your time during the installation process. With patience and attention to detail, you’ll achieve a professional-looking result, enhancing the beauty and functionality of your home.
