
The Foundation of Success: Pre-Installation Preparation
Success in your white oak flooring installation begins long before the first plank is laid. Proper pre-installation preparation ensures the project runs smoothly, looking stunning upon completion. This stage includes acclimating the wood, assessing your subfloor, and establishing the ideal environment to avoid issues down the line, such as warping or gaps in your flooring.
Selecting the Right White Oak: Factors to Consider
Choosing the right white oak is imperative to achieving a durable and aesthetically pleasing floor. Several factors should guide your selection:
- Grade: Opt for a higher grade for a uniform appearance, while lower grades can offer rustic charm.
- Color: Consider variations from light to dark shade; your choice impacts overall ambiance.
- Texture: Smooth, hand-scraped, or wire-brushed finishes each provide different aesthetics and feel.
- Width: Wider boards can create a more expansive look, while narrower boards provide a classic feel.
Assume that your choice significantly affects not only the look but also the longevity of your flooring.
Tools and Materials You Can’t Do Without
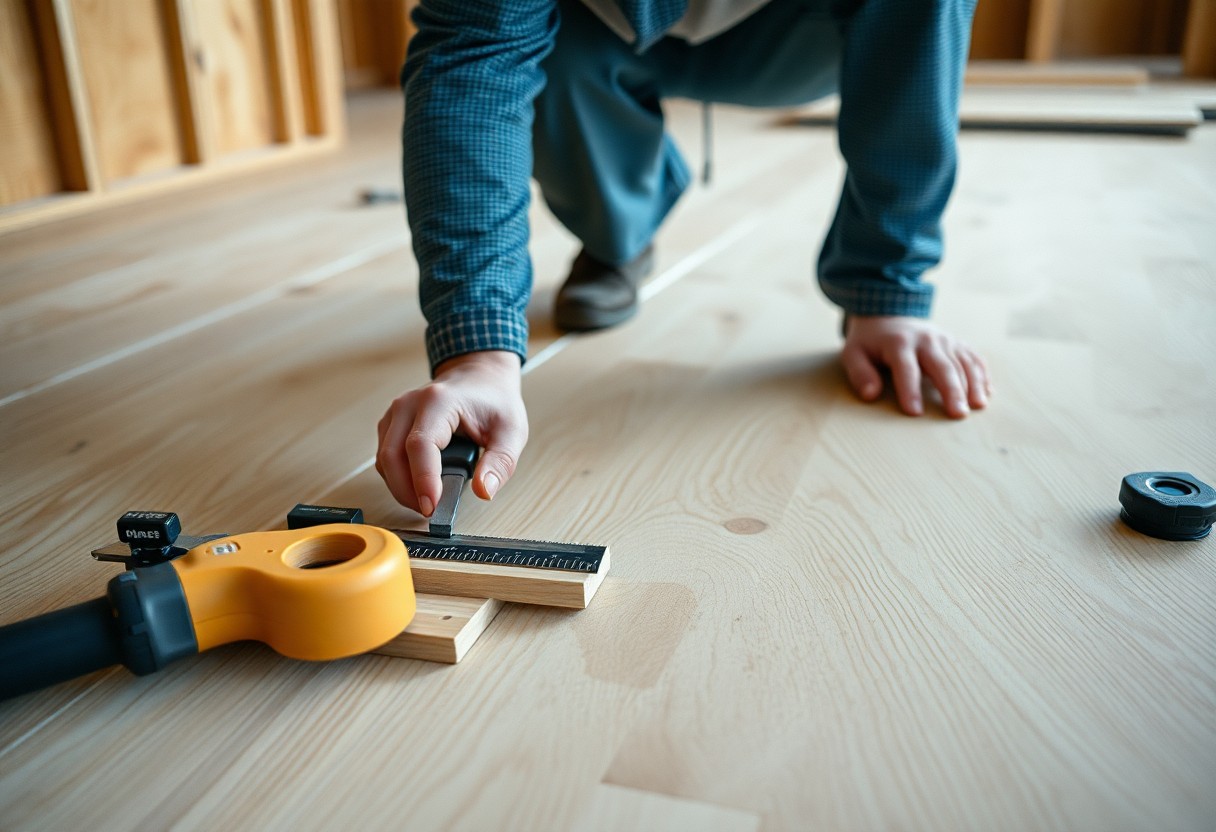
Before tackling your flooring project, gather imperative tools and materials that will streamline your installation process. Items such as a saw, moisture meter, and a rubber mallet will be indispensable for laying down white oak planks efficiently. Other vital supplies include a level, spacers, nails, and wood glue. Not having these on hand can lead to delays and frustrations, so investing time into collecting everything before commencing your installation will ultimately lead you to a seamless result.
Mastering the Art of Acclimation
Acclimation ensures your white oak flooring adjusts to the environment of the space it will inhabit, preventing future issues like warping or buckling. Effective acclimation involves allowing the wood to adjust to your home’s temperature and humidity levels for at least 48 to 72 hours before installation. During this time, the flooring should be stored in the room where it will be installed, ensuring that it becomes accustomed to the specific conditions it will face daily.
Importance of Acclimating Your Flooring
Acclimating your flooring minimizes the risk of movement post-installation. Wood is a natural material that responds to changes in humidity and temperature, which can lead to expansion or contraction. By acclimating your white oak flooring, you help the boards settle into the right moisture content for your space, promoting longevity and stability.
Steps to Properly Acclimate White Oak Flooring
Prepare for acclimation by opening the cartons of white oak flooring and placing them in the installation area. Ensure that the room’s temperature is ideally set between 60°F and 80°F and that relative humidity levels are maintained between 30% and 50%. Space the boards a few inches apart to allow for air circulation, and leave them undisturbed to fully absorb the surrounding air moisture. After the acclimation period of 48 to 72 hours, check the moisture levels with a moisture meter to confirm they are suitable for installation.
Monitoring the climate of your space during acclimation is beneficial. A reliable hygrometer can help you keep tabs on humidity levels, and if fluctuations occur outside the recommended range, consider a dehumidifier or humidifier to stabilize conditions. This proactive approach not only safeguards the integrity of your flooring but also enhances the overall installation process, providing a smoother and more professional finish. By committing to proper acclimation, you set a solid foundation for your beautiful white oak flooring to thrive in your home.
Perfecting the Subfloor: Ensuring Stability
A stable subfloor lays the groundwork for your new white oak flooring, minimizing future issues. Before exploring into installation, take the necessary steps to ensure a solid foundation. This includes assessing the condition of your current subfloor, making any needed repairs, and preparing the surface properly to support your beautiful new flooring.
Assessing the Condition of Your Subfloor
Start by checking for any signs of damage, such as rot or moisture. Walk over the entire area to identify soft spots, and inspect for squeaks or movement, which may indicate loose boards or fasteners. Confirm that the subfloor is level; you can use a long level or measure the distance from a reference point to the surface across the entire floor. These assessments will help determine if your subfloor is ready for installation or requires additional work.
Repairing and Preparing for Installation
Once you’ve assessed your subfloor, any imperfections must be addressed before installation. Fill in low spots with leveling compound and secure any loose boards by re-nailing or adding screws. If there are significant structural issues, consider replacing those sections entirely. In addition to fixing visible concerns, ensure that the subfloor is clean and free from dust and debris. A well-prepared subfloor prevents problems down the line, ensuring your white oak flooring maintains its beauty and durability.
After securing and leveling your subfloor, take advantage of this opportunity to install an underlayment, which adds a layer of soundproofing and moisture protection. The underlayment can significantly enhance the longevity of your flooring while providing cushioning underfoot. Additionally, check your room’s humidity levels, as fluctuating moisture can affect both the subfloor and the flooring above. Ensuring everything is perfect at this stage will contribute to a flawless installation process later on.
Laying Down the Groundwork: Installation Techniques
Before you probe your white oak flooring installation, understanding the right techniques for laying it down is necessary. Proper installation techniques not only ensure a flawless appearance but also contribute to the longevity and durability of your floor. Most importantly, they also help accommodate the natural movement of wood, like expansion and contraction, ensuring your flooring performs well in varying conditions.
Choosing the Right Installation Method
Selecting the appropriate installation method for white oak flooring depends on various factors, including the type of wood, the level of subfloor, and your personal preferences. Common methods include nail-down, glue-down, and floating installations. Nail-down is often preferred for solid hardwood, as it secures the planks tightly. Conversely, glue-down methods can be effective for engineered wood floors, while floating installations allow for easy removal later.
Step-by-Step Guide to Installing White Oak Flooring
Installing your white oak flooring can be simplified into straightforward steps. With the right tools and a keen eye for detail, you can achieve professional results. The table below outlines the necessary steps in this process:
| 1. Prepare the subfloor. | Ensure it’s clean, dry, and level. |
| 2. Lay down the underlayment. | Choose the correct type based on your flooring choice. |
| 3. Start installing the planks. | Begin in a corner, following the room’s longest wall. |
| 4. Use spacers. | Maintain an expansion gap around the perimeter. |
| 5. Secure the planks. | Depending on your method, nail, glue, or let them float in place. |
| 6. Trim the edges. | Install baseboards or transitions to cover gaps. |
Each step engages your tools and techniques effectively—clear and organized preparation builds a strong foundation for the installation. Start with a meticulous inspection of the subfloor, ensuring it is clean and dry. Proceed by laying down a suitable underlayment to cushion and prepare for the white oak planks. As you position each plank, ensure an expansion gap is preserved around the walls to manage the wood’s natural movements. The subsequent steps involve securing the flooring with your chosen installation method and finishing with trim for a polished look.
| Check subfloor moisture. | Use a moisture meter; below 12% is preferred. |
| Allow for acclimation time. | A minimum of 48 hours is ideal before installation. |
| Use the appropriate adhesive. | For glue-down installations, a high-quality wood adhesive is necessary. |
| Stagger the seams. | Offset seams for a more natural look and enhanced stability. |
Finishing Touches: Sealing and Maintenance
After installing your white oak flooring, applying the right sealant and establishing a maintenance routine will enhance its beauty and longevity. Choose a sealant that complements the wood’s natural grain and color while offering protection against scratches and moisture. Once sealed, frequent cleaning and diligent upkeep are keys to preserving the stunning facade of your new flooring.
The Best Products for Protecting White Oak
For optimal protection, look for high-quality water-based polyurethanes or penetrating oils specifically formulated for hardwood floors. These products create a durable finish that safeguards against daily wear and tear while enhancing the wood’s natural aesthetic. Brands such as Bona or Minwax provide excellent options that are trusted by professionals worldwide.
Tips for Long-Term Care and Maintenance
To keep your white oak flooring looking pristine, establish a regular cleaning routine that includes sweeping or vacuuming to remove dust and debris. Avoid using harsh chemicals that can damage the wood surface. Additionally, placing mats at entryways helps prevent dirt and grit from scratching the flooring.
- Maintain a consistent humidity level between 30-50% to prevent warping.
- Use furniture pads to protect the floor from heavy items.
- Address spills immediately to prevent moisture damage.
- Consider professional cleaning once a year for a thorough refresh.
Enhancing the durability of your white oak flooring can be achieved with simple habits. Regularly buffing the floor with a microfiber cloth helps to maintain its shine without overly applying polish. Ensure to rotate area rugs periodically to avoid uneven wear. Enjoying your beautiful flooring for years to come requires just a bit of your attention and care.
- Implement a no-shoes policy inside your home to reduce scratching.
- Wipe up any sticky or sticky substances promptly to avoid damage.
- Avoid direct sunlight for prolonged periods to minimize fading.
- Regularly inspect the floor for any signs of damage or wear.
Troubleshooting Common Installation Issues
Even with careful planning, issues can arise during the installation of white oak flooring. Identifying and addressing these problems swiftly can save you time and ensure your floor looks fantastic. Common concerns include gaps between planks, uneven surfaces, and issues like cupping or crowning, which can affect both aesthetics and performance. Knowing how to troubleshoot these problems effectively will enhance the overall quality of your flooring project.
Fixing Gaps and Uneven Planks
If you notice gaps or uneven planks after installation, consider using a wood filler that matches your flooring color to bridge these gaps. For uneven planks, you might need to refasten them or, in some cases, remove and reinstall the affected areas. Ensuring your subfloor is level can help prevent this issue in future projects.
What to Do in Case of Cupping or Crowning
Cupping and crowning occur when moisture levels fluctuate drastically in your flooring. If your planks are cupped (edges are raised), you can try to reduce humidity in the room and allow the floor to acclimate properly. In cases of crowning (middle of the plank is raised), moisture management is imperative as well. Both conditions require effective climate control and can sometimes mean replacing affected boards for a perfect finish.
To effectively address cupping or crowning, first, monitor the humidity levels in your home using a hygrometer. Maintain indoor humidity between 30-50% to minimize fluctuations. If cupping is severe, sand down the edges carefully to achieve a level surface, and allow adequate drying time for the planks before sealing. If issues persist after taking these measures, consider consulting with a professional to assess the situation and explore the option of replacing affected boards for a seamless look.
Summing up
On the whole, installing white oak flooring can be a rewarding project that enhances your home’s aesthetic and value. By carefully following each step, from preparation to the final touches, you ensure a professional-looking result. Take your time, gather the right tools, and pay attention to detail to achieve the best outcome. With patience and practice, you’ll enjoy the beauty of your new flooring for years to come.
