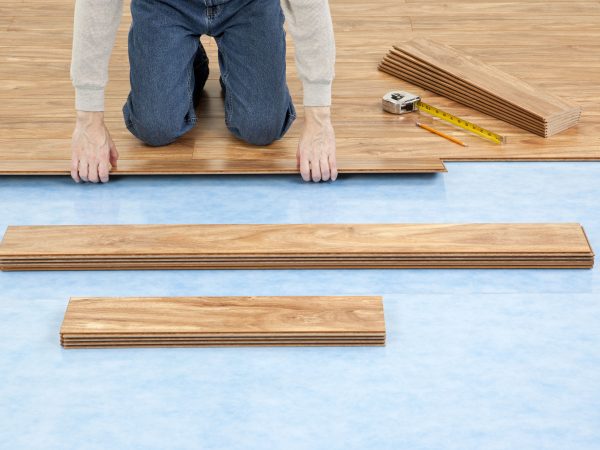
A Guide to Dry Back Vinyl Flooring Installation
When it comes to upgrading your floors, Dry Back Vinyl Flooring Installation is a top choice for many homeowners and businesses. This flooring type, often known for its durability and ease of maintenance, offers a practical solution with an installation method that’s straightforward yet crucial for ensuring a long-lasting finish. Let’s dive into what makes Dry Back Vinyl Flooring Installation a smart choice and how you can achieve the best results.

Understanding Dry Back Vinyl Flooring
Before delving into the installation process, it’s helpful to understand what Dry Back Vinyl Flooring is. Unlike other types of vinyl flooring that use click-lock or floating systems, Dry Back Vinyl Flooring requires a direct adhesive application to the subfloor. This method creates a solid, stable surface that’s perfect for high-traffic areas and ensures that the flooring remains firmly in place.
Preparing for Installation
Preparation is key to a successful Dry Back Vinyl Flooring Installation. The first step involves preparing your subfloor. It’s essential that the subfloor is clean, dry, and level. Any imperfections or debris can affect the adhesion of the vinyl, leading to potential problems down the line. Begin by sweeping and vacuuming the area thoroughly. If the subfloor is uneven, you might need to use a leveling compound to smooth it out.
Once the subfloor is ready, you should acclimate your Dry Back Vinyl Flooring to the room’s temperature and humidity. This step helps prevent any issues related to expansion or contraction after installation. Typically, it’s recommended to let the vinyl sit in the room where it will be installed for at least 48 hours before you begin.
The Installation Process
With preparation out of the way, you’re ready to start the Dry Back Vinyl Flooring Installation. Begin by applying the adhesive to the subfloor. It’s important to follow the manufacturer’s instructions regarding the type and amount of adhesive to use. Generally, you’ll spread the adhesive evenly using a trowel, covering only a section of the floor at a time to prevent it from drying out before you lay down the vinyl.
Carefully position the vinyl planks or tiles onto the adhesive. It’s crucial to align them correctly to ensure a seamless appearance. Press the vinyl down firmly, using a roller or a block to ensure good adhesion and to remove any air bubbles. As you lay down each piece, check to make sure that there are no gaps or uneven edges.
Finishing Touches
Once all the vinyl is laid and properly adhered, you’ll need to address the edges and transitions. Trim any excess vinyl at the edges of the room and around any fixtures or obstacles. Installing trim or molding can help cover any small gaps and provide a polished look. If you’re transitioning from the Dry Back Vinyl Flooring to another type of flooring, make sure to use the appropriate transition strips to ensure a smooth and safe transition.


Post-Installation Care
After the installation is complete, avoid walking on the floor for at least 24 hours to allow the adhesive to fully cure. It’s also a good idea to clean the new flooring with a gentle cleaner to remove any adhesive residues or dust. Regular maintenance will keep your Dry Back Vinyl Flooring looking its best for years to come. This typically involves sweeping and mopping with a mild detergent, and avoiding harsh chemicals that could damage the surface.
Advantages of Professional Installation
While DIY installation of Dry Back Vinyl Flooring can be a rewarding project, professional installation is often recommended, especially for larger areas or more complex layouts. Professionals bring experience and expertise that can ensure a flawless finish. They are also equipped with the right tools and can handle any unforeseen issues that may arise during the installation process.
Conclusion
Dry Back Vinyl Flooring Installation offers a robust and stylish solution for both residential and commercial spaces. By carefully preparing the subfloor, following proper installation techniques, and paying attention to finishing details, you can achieve a professional-looking result that enhances the durability and appearance of your floors. Whether you choose to tackle the installation yourself or hire a professional, understanding the process will help you make informed decisions and enjoy the benefits of your new flooring for years to come.
