
Most homeowners find SPC vinyl flooring an appealing choice due to its durability and aesthetic versatility. As you prepare for installation, it’s important to understand what to expect at each phase of the process. This guide will provide you with a detailed overview, equipping you with important insights to ensure a smooth and successful flooring upgrade in your home.
Preparing Your Space: The Groundwork for Success
Prior to installing SPC vinyl flooring, preparing your space is necessary for a smooth process and optimal results. Start by ensuring that your room is free from any obstructions, allowing for easy movement and access to all areas where the flooring will be laid. Proper preparation not only saves you time but also enhances the quality of your finished installation.
Assessing Underlayment Requirements
Evaluating your underlayment needs is a critical step. Depending on your subfloor type, whether concrete or wood, you’ll need to select the right underlayment that provides sound insulation and moisture barrier properties. Research different underlayment options and check manufacturer recommendations for your specific SPC vinyl flooring product.
Clearing and Cleaning the Installation Area
Before installation begins, thoroughly clear and clean the space to ensure a perfect bond and finish. Remove any furniture, rugs, or decor that may obstruct the area. Sweep or vacuum the floor to eliminate dust and debris, and mop to address any stains. A clean, dry surface minimizes the risk of imperfections in the final flooring application.
Clearing the installation area involves more than just moving furniture. You should check for loose boards or tiles, ensuring a flat surface where possible. Pay attention to corners and edges where dirt accumulates, and gently scrape away any adhesive residues from previous flooring. This attention to detail contributes to preventing unforeseen issues during installation and enhances the longevity of your new SPC vinyl flooring. Make sure to allow the subfloor to dry completely if mopped, which usually takes several hours.
Selecting the Right Tools: Gear Up for Installation
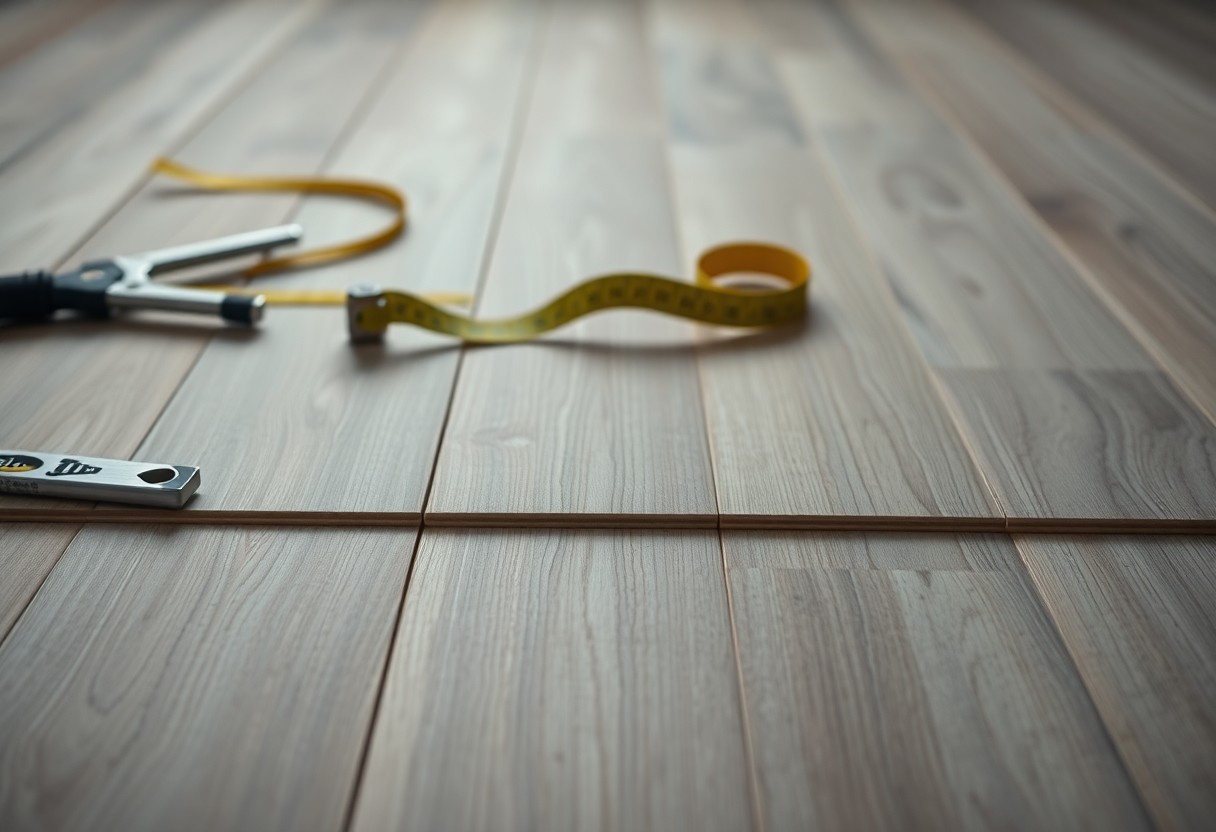
Selecting the right tools ensures an efficient SPC vinyl flooring installation, making the process smoother and more successful. You’ll need to gather specialized tools designed for flooring installation as well as general tools that provide versatility throughout the project. Getting organized beforehand means you can focus on the task at hand without interruptions.
Essential Tools and Materials Checklist
Your necessary tools and materials checklist should include items such as a utility knife, straight edge, measuring tape, flooring adhesive (if necessary), and a tapping block. Additionally, having a rubber mallet, spacers for expansion gaps, and a floor roller will help ensure a professional finish. Collecting these items in advance streamlines your workflow, allowing you to concentrate on securing your new flooring.
Safety Equipment and Best Practices
Safety equipment plays a key role in creating a secure work environment during installation. Utilize safety goggles, knee pads, and gloves to protect yourself while working. Avoid injury by adhering to best practices, such as maintaining a clean workspace, using sharp tools properly, and taking breaks to prevent fatigue.
Wearing the appropriate safety equipment increases your confidence while working. Safety goggles prevent debris from causing eye injuries, while knee pads provide comfort during extended periods on the floor. Using gloves not only protects your hands from cuts but also ensures a secure grip on tools. Establishing a tidy workspace helps to prevent tripping hazards and accidents, while regular breaks keep you sharp and focused throughout the installation process.
Mastering the Installation Technique: A Step-by-Step Guide
| Step | Description |
| 1. Prepare the Subfloor | Ensure the subfloor is clean, dry, and level for optimal results. |
| 2. Measure and Plan | Measure your room to determine plank placement, minimizing waste and ensuring aesthetics. |
| 3. Laying the First Plank | Start in a corner, aligning the plank with the wall for a straight edge. |
| 4. Continuation | Lay the remaining planks, stagger seams for visual appeal and structural integrity. |
Laying the First Plank: Achieving Precision
Your first plank sets the stage for the entire floor. Align it with the wall and use spacers to maintain consistent expansion gaps, vital for accommodating temperature changes. Positioning this plank accurately ensures that subsequent rows remain straight and visually appealing.
Seam Management: Ensuring a Flawless Finish
Effective seam management involves aligning the edges of your planks perfectly, which minimizes visibility and enhances durability. Use a tapping block to ensure snug connections without damaging the planks. Each seam requires careful assessment to avoid gaps that can compromise the floor’s appearance and function.
Prioritize the alignment and interlocking of seams to maintain the integrity of your SPC vinyl flooring. A slight misalignment can lead to noticeable gaps or uneven surfaces. Use a level to check that the seams are flat, and apply pressure as needed. Additionally, consider the use of seam filler or adhesive specifically designed for vinyl flooring if necessary, ensuring a seamless look and enhanced longevity.
Navigating Common Challenges: Troubleshooting Your Installation
Even with proper planning, challenges can arise during your SPC vinyl flooring installation. Familiarizing yourself with potential issues will help you maintain a smooth process. Common concerns include warping, gaps between planks, and adapting to irregular spaces. Armed with the right solutions and techniques, you can address these problems effectively and ensure a successful installation.
Warping and Gaps: Prevention and Solutions
Preventing warping and gaps begins with acclimating your vinyl flooring for at least 48 hours before installation. Maintaining a stable humidity level and temperature in your space is necessary. If gaps form post-installation, you can address them by adjusting the flooring planks or using a filler to achieve a seamless look.
Adapting to Unique Spaces: Managing Odd Shapes
Managing odd shapes during installation requires precise measurements and careful planning. Take the time to sketch the layout to visualize how the planks will fit into your space. Use a jigsaw for intricate cuts and ensure you leave an appropriate expansion gap around the edges to accommodate any movement. This attention to detail helps create a polished finish in unconventional areas.
When dealing with unique layouts, employ templates or cardboard cutouts to ensure accurate measurements before making any cuts. For areas like corners, curves, or built-in features, measuring twice will save time and material. Consider using flexible vinyl trim to seamlessly finish off edges, providing a clean look while hiding any cuts made for odd angles. Adopting this method allows you to enhance the aesthetic of your installation while maintaining durability and functionality.
Post-Installation Care: Preserving Your New Flooring
To maintain the beauty and functionality of your SPC vinyl flooring, implement a consistent post-installation care routine. Regular attention not only enhances aesthetics but also extends the life of your flooring. Proper cleaning and maintenance will prevent damage and keep your floors looking new for years. Avoid harsh chemicals and stay proactive in addressing any issues to preserve the quality of your flooring investment.
Cleaning and Maintenance Guidelines
Establish a regular cleaning regimen that includes sweeping or vacuuming to remove debris, followed by damp mopping with a manufacturer-recommended cleaner. Avoid using abrasive materials to prevent scratches and dullness. Periodic deep cleaning may also be beneficial to combat stubborn stains, ensuring your floors continue to shine.
Tips for Long-term Durability
To guarantee your SPC vinyl flooring stands the test of time, take specific measures that enhance its resilience. Implement a no-shoes policy in the home to reduce wear. Keep furniture pads on all legs to prevent scratches, and ensure humidity levels remain within the recommended range to prevent expansion or contraction. This will go a long way in maintaining the integrity of your flooring.
- Place mats at entrances to trap dirt and moisture.
- Keep your flooring away from direct sunlight to prevent fading.
- Clean spills promptly to avoid stains and warping.
- Assess the area regularly for any potential issues.
- This can help you catch problems early and maintain your flooring’s durability.
Consider additional protective measures like using area rugs in high-traffic zones. High-quality entrance mats can significantly reduce wear and tear, absorbing dirt and water before they reach your floors. Adjusting your cleaning methods based on seasonal changes can also prevent damage caused by environmental factors. This will enable you to keep your SPC vinyl flooring in optimal condition for years to come.
- Regularly adjust humidity in your home using dehumidifiers or humidifiers.
- If you’re utilizing underfloor heating, monitor the temperature settings to prevent excessive heat exposure.
- Establish routine inspection schedules for scratches or dents.
- Explore warranties and manufacturer recommendations for additional care guidance.
- This will ensure that your flooring investment remains protected and looking its best.
Final Words
From above, you have explored the vital steps to successfully install SPC vinyl flooring in your space. By following the detailed overview, you can ensure a seamless installation process that enhances the durability and aesthetics of your floors. Proper preparation, careful laying techniques, and meticulous finishing touches will result in a professional look that you can enjoy for years. Equip yourself with the right tools and knowledge, and confidently transform your environment with SPC vinyl flooring.
