
SPC vinyl flooring offers a perfect blend of durability and style for your home. In this comprehensive guide, you will learn everything you need to know about installing SPC vinyl flooring, from preparation and tools to step-by-step installation techniques. By using this guide, you can confidently transform your space, ensuring a professional finish that enhances your living environment. Whether you’re a DIY enthusiast or a beginner, this post will equip you with the knowledge to achieve stunning results.
Types of SPC Vinyl Flooring
Understanding the types of SPC (Stone Plastic Composite) vinyl flooring is crucial for making an informed choice. SPC flooring differs mainly in its core composition. Here’s a quick overview:
- Rigid Core
- Flexible Core
- Wood-Look SPC
- Stone-Look SPC
- Waterproof Options
Any of these types can enhance your flooring experience depending on your specific needs and installation environment.
| Type | Characteristics |
|---|---|
| Rigid Core | Highly durable, provides excellent stability. |
| Flexible Core | More forgiving underfoot, easier to install. |
| Wood-Look SPC | Realistic wood appearances with durability. |
| Stone-Look SPC | Resembles natural stone, adds elegance. |
| Waterproof Options | Ideal for high-moisture areas. |
Rigid Core
Rigid core SPC flooring features a solid composite core that offers unparalleled stability and durability, making it ideal for high-traffic areas. This type excels in maintaining its shape over time, even when exposed to temperature fluctuations, ensuring your flooring remains intact and visually appealing. With enhanced sound insulation and resistance to scratches, you’ll find rigid core options are often preferred for commercial spaces and busy households.
Flexible Core
Flexible core SPC vinyl flooring provides a slightly softer surface underfoot, making it more comfortable for residential applications. The flexibility allows for easier installation, particularly on uneven subfloors, reducing the need for extensive preparation. This type is often chosen for areas where extra cushioning is desired, like playrooms or bedrooms.
Flexible core SPC is composed of a softer, yet durable material that provides not only comfort but also sound absorption. Ideal for homes with children or pets, this type reduces noise and feels softer than its rigid counterpart. It typically maintains its durability and water resistance, ensuring longevity while providing a more forgiving surface experience. Your choice of flexible core can enhance your living space by promoting comfort and reducing stress on your joints.
Essential Tips for Installation
For a successful SPC vinyl flooring installation, ensure you follow key guidelines for a smooth and durable finish. Pay attention to the subfloor condition, acclimate the planks, and apply the correct technique. Here are vital tips:
- Acclimate your SPC vinyl for 48 hours before installation.
- Ensure the subfloor is clean, dry, and level.
- Use proper underlayment for moisture protection.
- Install in a climate-controlled environment.
This preparation helps prevent future issues and ensures longevity.
Preparation and Planning
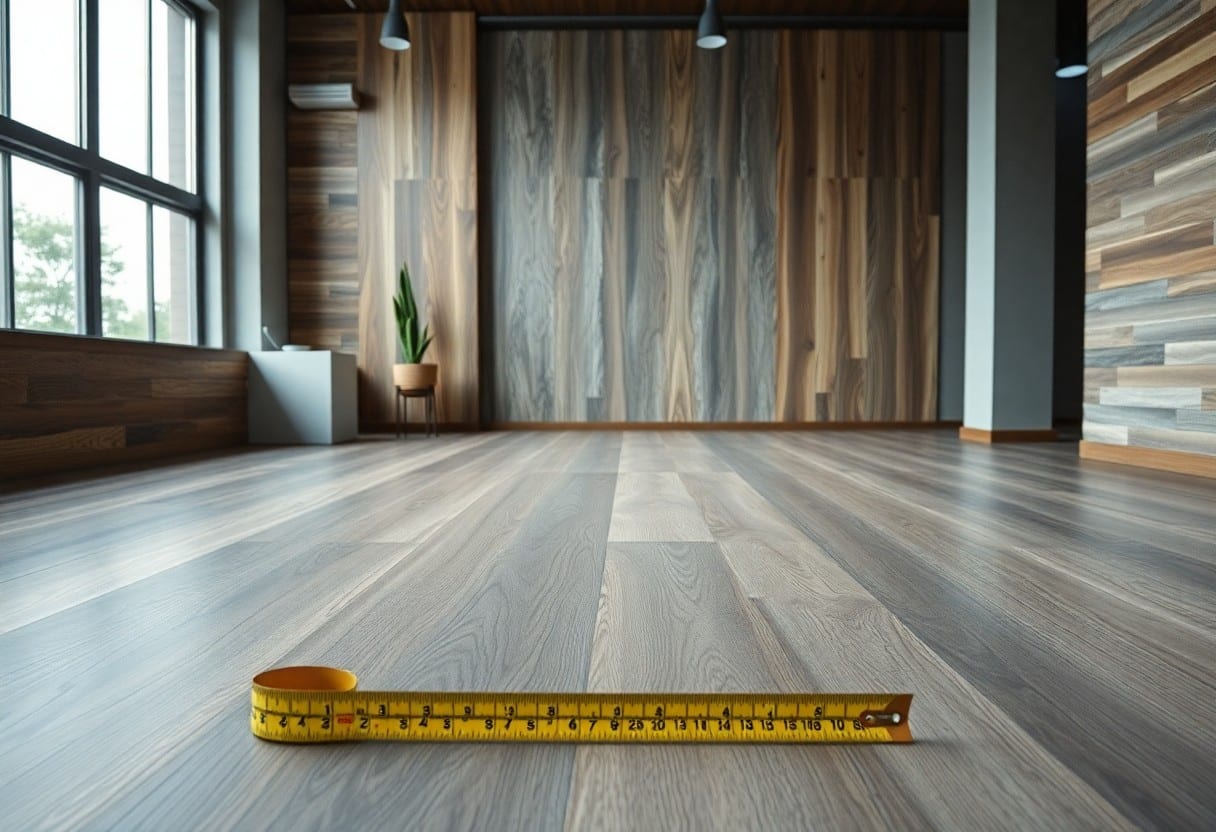
Before installation, take time to plan your layout and determine how the planks will fit in your space. Measure your room accurately to estimate the number of planks needed, while considering the direction that optimizes both appearance and flow. It’s wise to create a detailed diagram that outlines cuts and placement, which can significantly streamline the installation process and minimize errors.
Tools and Materials Needed
Gather the necessary tools and materials to ensure a seamless installation. You will need a utility knife, straight edge, measuring tape, chalk line, spacers, and a rubber mallet, along with a suitable underlayment for your floor type. Having these at the ready will simplify your work, enabling you to focus on the installation without delays.
Investing in quality tools can make a significant difference. For instance, a sharp utility knife reduces the risk of jagged cuts, while a rubber mallet allows you to fit planks tightly without damaging them. Additionally, a chalk line aids in achieving straight, professional-looking lines, ensuring your floors look polished. A little upfront investment in tools saves time and enhances the quality of your finished project.
Step-by-Step Installation Process
| Step | Description |
| 1 | Prepare the subfloor thoroughly. |
| 2 | Install the underlayment if required. |
| 3 | Begin laying down the planks from one corner of the room. |
| 4 | Ensure each plank clicks into place securely. |
| 5 | Trim planks to fit at the edges as needed. |
| 6 | Finish with molding or trim for a polished look. |
Subfloor Preparation
Start by inspecting your subfloor for any imperfections. It should be clean, dry, and level. Remove any debris, dust, or old flooring materials. If you notice any damage, repair it before installation. Using a leveling compound can help you achieve a smooth surface. Ensuring your subfloor is ready will directly impact the longevity and performance of your SPC vinyl flooring.
Plank Installation
When laying your planks, begin in one corner and work your way across the room. Angle the first plank into the groove of the previous one, gently pressing down until it clicks. Maintain a gap of about 1/4 inch along the walls to allow for expansion. Use a tapping block to secure planks together smoothly, ensuring a seamless look as you continue the installation process.
Consider staggering the joints of your planks for added stability and an appealing aesthetic. This technique not only enhances the interlocking system but also minimizes the likelihood of visible seams. Proper alignment is key; use spacers to maintain uniform gaps throughout the installation, accommodating natural expansion caused by changes in temperature and humidity.
Finishing Touches
After installing your SPC vinyl flooring, it’s time for the finishing touches. Trim excess material at the edges and install molding or baseboards to conceal expansion gaps. Ensure all planks are firmly in place, and clean the surface with a damp mop to remove any debris or dust. These final details greatly enhance the overall appearance and function of your flooring.
Pay attention to transitions between different flooring types to create a seamless flow within your space. Use transition strips where necessary to ensure a smooth transition while also protecting the edges of your new flooring. By completing these steps, your installation will look professional and last for years to come.
Factors to Consider Before Installation
Before moving forward with your SPC vinyl flooring installation, several factors can significantly influence the outcome and longevity of your project. Take the time to evaluate:
- Your subfloor condition
- Environmental humidity levels
- Foot traffic in the area
- Acclimation time for flooring
- Your installation experience
Any oversight in these areas can lead to installation issues or increased costs down the line.
Room Conditions
Assessing room conditions is paramount. Ensure the space is clean, dry, and well-ventilated to prevent moisture-related problems. Ideal room temperature ranges from 65°F to 85°F, and humidity levels should be between 30% and 50%. Also, consider the room’s purpose; high-traffic areas may require a more durable wear layer to withstand daily use effectively.
Budget Considerations
Your budget will dictate various aspects of your SPC vinyl flooring project. Consider not only the cost of the flooring itself but also additional expenses like underlayment, tools, and potential labor if you choose to hire professionals. Installation costs can vary widely; on average, DIY installation can save you up to $1-$4 per square foot compared to hiring a contractor.
When assessing your budget, factor in long-term durability and maintenance costs as well. SPC vinyl flooring tends to have a longer lifespan than traditional vinyl, so investing initially might save you money over time. Additionally, consider any potential need for subfloor repairs or leveling, which can add to your overall expenses. Evaluating these elements will help ensure your project remains within the financial parameters you’ve set.
Pros and Cons of SPC Vinyl Flooring
| Pros | Cons |
|---|---|
| Durable and resistant to scratches | Can be uncomfortable if standing for long periods |
| Waterproof, suitable for moist areas | Can be less luxurious compared to natural wood |
| Easier and quicker installation | Limited resale value compared to hardwood |
| Low maintenance requirements | May off-gas VOCs if not from certified sources |
| Variety of designs and finishes | Susceptible to temperature changes |
Advantages
You’ll appreciate the advantages of SPC vinyl flooring, particularly its impressive durability and waterproof nature. This means you can install it confidently in kitchens and bathrooms without worry. Additionally, its ease of installation allows for quick home upgrades without the mess and hassle of extensive renovations. With a wide range of designs to choose from, it’s simple to find an option that complements your home’s aesthetic.
Disadvantages
Despite its benefits, SPC vinyl flooring has some disadvantages worth considering. Its comfort level is lower compared to softer flooring options, possibly causing discomfort if you’re standing for extended periods. You’ll also find that SPC may not replicate the luxurious feel of authentic hardwood, which could impact your renovation’s overall appeal.
Moreover, while SPC is durable, it’s susceptible to temperature fluctuations. In extreme heat or cold, expansion and contraction can occur, leading to potential gaps or buckling. This means careful installation and acclimation to your home’s environment are important. Furthermore, if you prioritize eco-friendliness, be cautious about off-gassing; ensure your SPC flooring comes from reputable manufacturers that adhere to safety standards to minimize VOC emissions.
Common Mistakes to Avoid
Neglecting Subfloor Preparation
Your installation can suffer significantly if you skip proper subfloor preparation. Uneven or dirty surfaces can lead to issues such as buckling or warping over time. Ensure the subfloor is clean, dry, and leveled, ideally achieving a smoothness of 1/8 inch over 10 feet for optimal results.
Overlooking Acclimation
Failing to acclimate your SPC vinyl flooring can lead to expansion or contraction after installation. Allow your planks to adjust to the room’s temperature and humidity for at least 48 hours prior to installation, ensuring they stabilize properly.
Incorrect Plank Orientation
Installing the planks in the wrong orientation can disrupt the visual flow of your space. Always lay the planks parallel to the longest wall or the main light source to create an inviting look that enhances the room’s size.
Rushing the Installation Process
Taking your time is imperative when installing SPC vinyl. Rushing through cutting, fitting, or locking planks can lead to misalignments or gaps, which might necessitate costly repairs later. Each step deserves attention to ensure a professional finish.
Final Words
Following this comprehensive guide, you are now equipped with the imperative knowledge for a successful SPC vinyl flooring installation. Understanding the steps, tools, and techniques will empower you to achieve a professional finish in your own space. With the right preparation and attention to detail, you can enhance your home’s aesthetics and durability. Trust in your skills and enjoy the process, knowing you’re creating a beautiful and resilient flooring solution that meets your needs.
