
This guide instructs you on preparing your space for a successful dry back vinyl flooring installation, covering surface inspection, moisture testing, cleaning, and layout planning so you can install with confidence.
Assessing Your Subfloor: Key Factors for Stability
Assessing substrate flatness, moisture and adhesion ensures a lasting dry back vinyl installation. You should check for loose areas, contamination, and past coatings. Any defects must be repaired before laying the vinyl.
- Check moisture levels
- Confirm adhesion and cleanliness
- Ensure flatness and secure fastening
Identifying Subfloor Materials and Compatibility
Determine whether you have plywood, concrete, or existing resilient floors and assess compatibility with adhesive-backed vinyl. You should verify manufacturer guidelines and surface porosity, then treat or prime as recommended.
Testing for Levelness and Structural Integrity
Measure floor level using a long straightedge and a laser or spirit level; identify gaps and deflection points. You should mark high and low spots for repair and confirm joist stability before proceeding.
Inspect for deflection by applying weight to suspect areas and watching for movement; acceptable deflection limits depend on the vinyl manufacturer, commonly L/360 or tighter. You should secure loose fasteners, repair or replace compromised decking, feather high spots, and use a cementitious patch to build up low areas, then recheck level and moisture before adhesive use.
Moisture Management: Critical Factors for Glue-Down Success
Inspect subfloor moisture and ambient humidity before glue-down; follow these checks:
- Perform moisture vapor tests
- Fix leaks and dry substrate
- Match adhesive to emission levels
This prevents adhesive failures and costly repairs.
Conducting Professional Moisture Vapor Tests
Hire a qualified tester to run calcium chloride or in-situ RH tests, then act on their readings so you avoid adhesion issues.
Applying Moisture Barriers on Concrete Substrates
Apply a manufacturer-approved moisture barrier or primer over cured concrete to reduce vapor transmission and ensure the glue bonds as intended.
Select a moisture barrier system rated for the measured emission level and compatible with your adhesive; epoxy or polyurethane membranes typically deliver low permeability. Follow manufacturer instructions on primers, application thickness, mixing, temperature, and cure time, and retest vapor emissions after the barrier cures before you lay the vinyl.
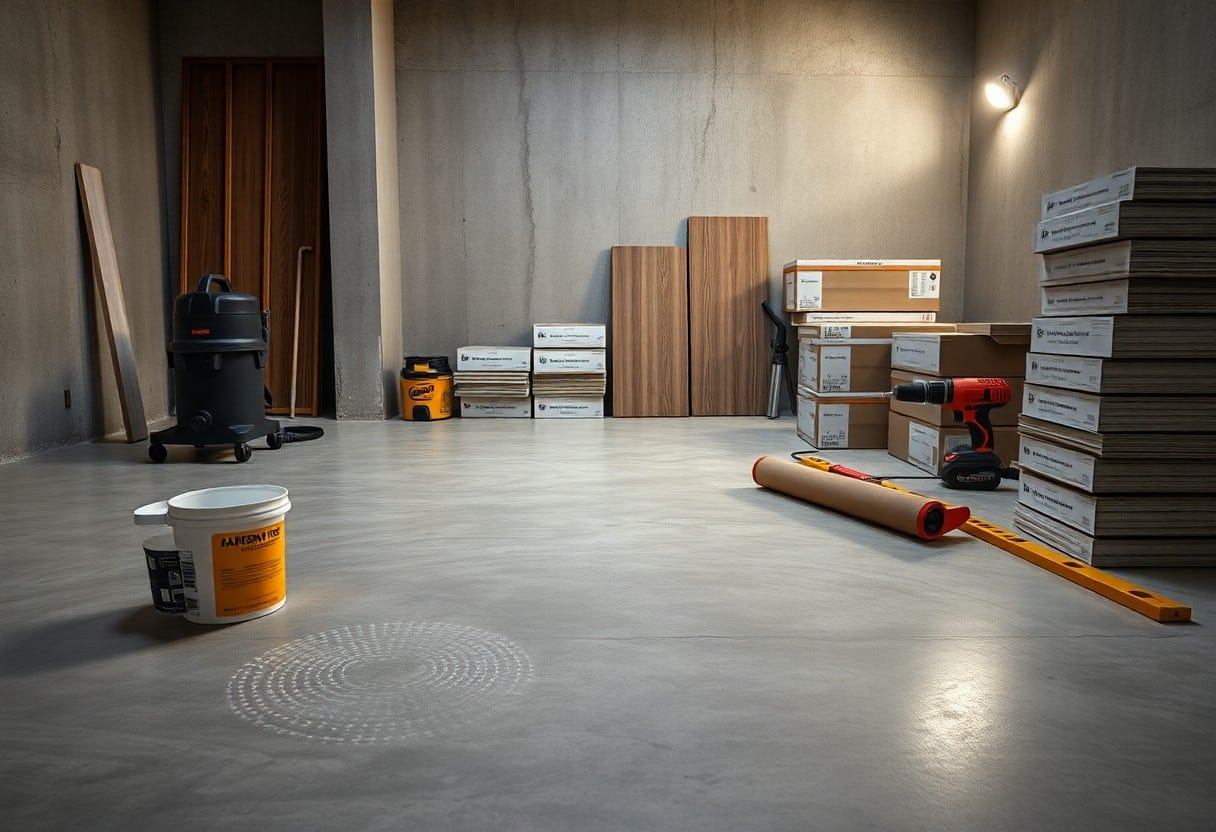
Essential Tools and Materials for Preparation
Gather the basic tools and materials you’ll need: tape measure, chalk line, straight edge, utility knife, primer, pressure-sensitive adhesive, notched trowel, roller, and spacers for a proper dry back installation.
Selecting the Correct Primer and Adhesive
Choose a primer that matches your subfloor type and a pressure-sensitive adhesive specified for dry back vinyl; always perform an adhesion test on a scrap piece before full spread.
Measuring and Marking Tools for an Accurate Layout
Mark straight reference lines using a chalk line, then verify distances with a quality tape measure and carpenter’s square so you maintain consistent plank alignment and end joints.
Measure from the longest, straight wall and snap a centerline to balance the field; use a laser level for long runs and check squareness at multiple points. You should plan staggered end joints 6-8 inches apart, mark cut lines at doorways and transitions, and note obstacles to reduce waste and keep seams tight.
How-To Plan Your Layout for a Flawless Finish
Plan your layout by establishing a center line, working outward to ensure plank alignment and balanced edge widths across the room.
Establishing the Center Point and Reference Lines
Mark the room’s exact center and snap perpendicular reference lines so you can align planks and maintain even edge widths from both sides.
Dry-Fitting Planks to Avoid Small Perimeter Cuts
Dry-fit planks from the center toward walls so you can preview joins and avoid tiny leftover strips that are difficult to install and trim cleanly.
Check plank positions as you dry-fit: stagger end joints 8-12 inches, measure the final row widths, and shift your starting line slightly so last strips are at least half a plank; use spacers for the expansion gap and scribe the final row for a neat, professional edge.
Summing up
As a reminder, you should clear the room, clean and level the subfloor, verify moisture and temperature, acclimate the vinyl, plan seams and transitions, and stage tools and adhesives so you can install straight, secure dry-back sheets with minimal rework.
