
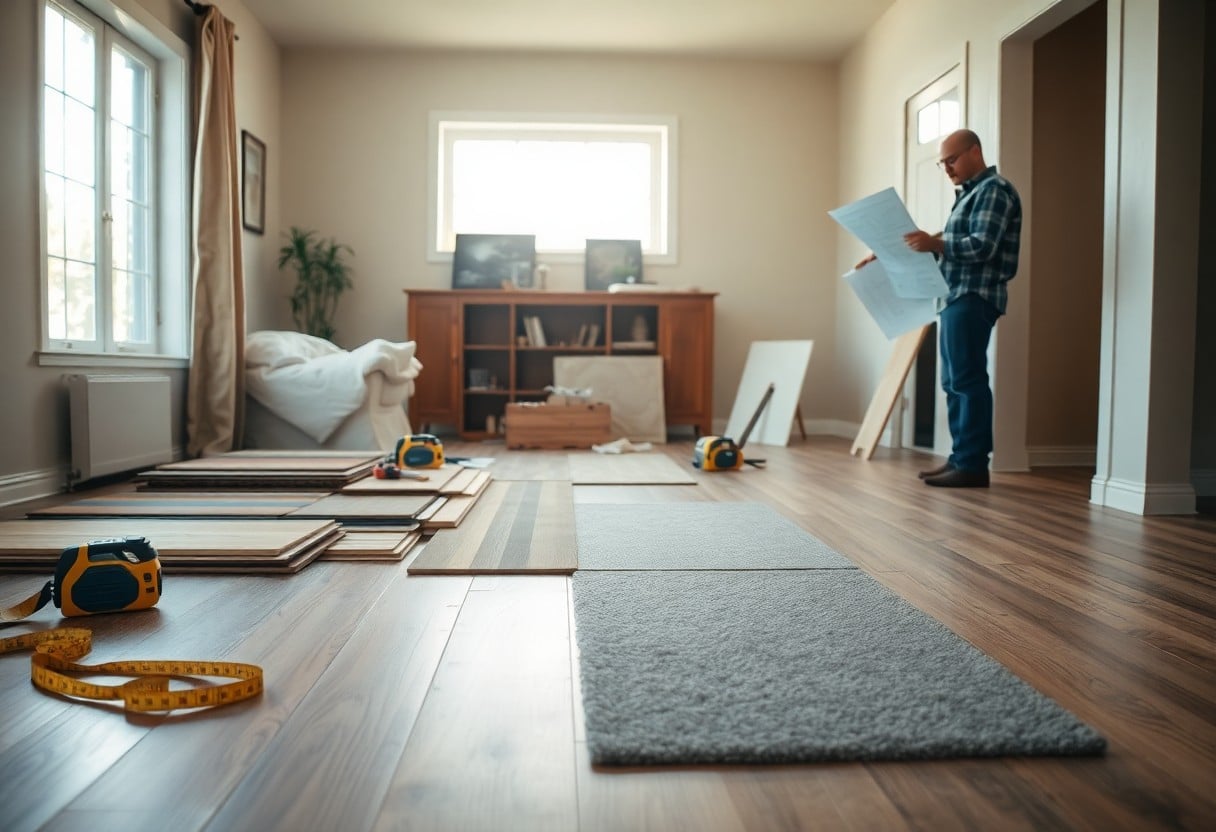
Installation of new flooring requires careful preparation to ensure a seamless experience. You need to create a suitable environment for the installers by decluttering your space, moving furniture out of the way, and ensuring that the area is clean and accessible. It’s also important to address any repairs or issues with your subfloor beforehand. By taking these steps, you can facilitate a smoother installation process that will get your new floors laid down efficiently and with minimal disruptions.
Understanding Flooring Types
Choosing the right flooring can greatly impact your home’s aesthetic and functionality. From hardwood to laminate, each type has unique characteristics, benefits, and drawbacks. Here’s a brief overview to help you differentiate:
| Flooring Type | Description |
| Hardwood | Durable and timeless, ideal for traditional settings. |
| Laminate | Cost-effective and easy to install, providing a wood-like appearance. |
| Vinyl | Water-resistant and versatile, suitable for high-moisture areas. |
| Tile | Durable and easy to clean, perfect for kitchens and bathrooms. |
| Carpet | Soft and warm, ideal for bedrooms and living rooms. |
Knowing your options sets the foundation for making an informed decision.
How-To Choose the Right Flooring for Your Home
Selecting the right flooring involves assessing your lifestyle needs, aesthetics, and budget. Start by considering the amount of foot traffic your space receives and the activities that will take place in each area. It’s important to visit showrooms and obtain samples, as seeing colors and textures in your space can significantly influence your choice.
Factors to Consider for Your Flooring Needs
Evaluate several key elements when choosing your flooring. Consider lifestyle factors such as pets, children, and maintenance requirements. Your geographic location and climate may influence material preferences due to weather patterns. Additionally, think about the existing decor and your budget. Different types of flooring can range significantly in cost, so plan accordingly.
- Foot traffic level
- Room functionality
- Maintenance and cleaning
- Style compatibility
- Budget constraints
After evaluating these factors, you’ll better position yourself to select flooring that aligns with your expectations and daily needs.
- Local climate
- Allergens and environmental factors
- Durability and material lifespan
- Installation complexities
- Long-term value
After weighing these additional considerations, you can confidently move towards a flooring choice that harmoniously fits your lifestyle and home environment.
Preparing Your Home Environment
Preparing your home environment is necessary for a smooth flooring installation. Ensure that the area is accessible and free of any obstacles that could hinder the installation process. This not only speeds up the project but also helps workers move efficiently without any interruptions. A well-prepared space fosters a safer environment for everyone involved.
How-To Clear and Clean Your Space
To effectively clear and clean your space, start by removing all furniture and items from the installation area. Consider temporarily relocating these items to another room or using a garage or storage unit. Sweep and mop the floor to eliminate dust and debris, which will lay the groundwork for a seamless installation.
Tips for Protecting Furniture and Belongings
To safeguard your furniture and belongings, cover items with protective sheets or move them far from the installation area. Additionally, consider using corner guards on walls to prevent scratches and dings. Ensure that any items left in the vicinity are secured to avoid accidental damage during the installation process. Knowing how to properly shield your possessions will save you from costly repairs.
- Use plastic sheeting to cover large furniture.
- Move small items to a different room.
- Secure fragile belongings with cushioning materials.
- Remove wall decor and small fixtures beforehand.
Applying these protection tips ensures that your belongings are safe and intact during the installation process. Wrap electronics and gadgets in bubble wrap, and consider placing heavy furniture on protective pads to minimize risks. Disassemble larger furniture pieces if necessary to prevent breakage. Knowing these techniques can greatly lessen the likelihood of damages.
- Utilize furniture sliders for easy movement.
- Label boxes containing items for easy reassembly.
- Be cautious with highly fragile items and relocate them entirely.
- Avoid leaving valuable items unattended in the installation area.
Acclimating Your New Flooring
Acclimating your new flooring allows it to adapt to your home’s temperature and humidity before installation. This process helps to minimize expansion or contraction after the flooring is laid, preventing future buckling or gaps. Depending on the material, you should allow for a specific period of time, typically 48 hours for wood and laminate flooring. Measure the conditions in your home during this timeframe to ensure optimal results.
How-To Properly Acclimate Different Materials
To properly acclimate various flooring materials, start by placing the planks or tiles in the room where they will be installed. For hardwood, the manufacturer may recommend keeping the boxes sealed for a period before opening them. For laminate and vinyl, spread them out in a single layer to ensure even exposure. Always check the product guidelines for specific acclimation times and conditions.
Factors Affecting Acclimation Time
Several factors can impact how long your flooring needs to acclimate. The relative humidity and temperature of your home, as well as the type of flooring material, play significant roles. Hardwood generally requires longer, especially in fluctuating climates, while engineered wood and laminate may need less time. Additionally, the thickness of the flooring can also affect the necessary acclimation duration.
- Humidity levels in the room
- Temperature fluctuations
- Type and thickness of flooring material
- Manufacturer recommendations
- Room ventilation
- Seasonal changes
- After considering these factors, adjust your acclimation period to suit conditions.
Acclimation time can vary widely based on specific circumstances. For instance, in a humid environment, flooring might require longer acclimation to absorb the moisture adequately, while in a drier area, the process could be quicker. Always ensure you check both the indoor conditions and your flooring manufacturer’s guidelines to achieve the best fit and finish.
- Indoor relative humidity levels
- Presence of air conditioning or heating systems
- Duration of exposure to varying temperatures
- Type of underlayment used
- After you assess these aspects, you can better estimate the acclimation needs of your flooring material.
Planning the Installation Timeline
Establishing a clear timeline for your flooring installation is important to avoid disruptions and ensure a seamless process. Begin by assessing how long your chosen flooring material typically takes to install, including drying or curing times. Factor in any prep work needed, such as removing old flooring or addressing subfloor issues. Setting a timeline allows you to coordinate other home projects or appointments around your installation, helping you to manage expectations and prepare adequately.
How-To Create a Realistic Schedule
To create a realistic schedule, start by consulting with your flooring installer to understand their availability and the estimated installation duration. Consider the time needed for any necessary preparations, such as moving furniture and cleaning the area. Be sure to account for potential interruptions, particularly if you’re working with multiple rooms or overlapping tasks. By detailing each step of the process, you can devise a timeline that accommodates your lifestyle and ensures everything is on track.
Tips for Coordinating with Installers
Effective communication with your installers is key to a smooth flooring installation. Share your schedule and expectations upfront, and confirm specific installation dates or times. Visit the site to ensure everything is ready beforehand, helping to eliminate last-minute surprises. Maintain open lines of communication throughout the process; regular check-ins can foster a cooperative working relationship. Thou must keep all parties informed to facilitate a seamless workflow and empower your installation team to deliver their best work.
- Discuss your work schedule upfront with installers.
- Confirm all installation dates and times beforehand.
- Keep contact information handy for quick communication.
- Provide access to the installation site as needed.
- Thou must ensure everyone is on the same page throughout the process.
To further enhance your coordination efforts, create a checklist of important topics to discuss with your installers. This can include questions about the installation procedures, material handling, and cleanup post-installation. Make a point to address potential issues or concerns, offering insight into any unique aspects of your home. Establishing a clear expectation for progress updates also helps maintain alignment between you and your installation team. Thou shall pave the way for a smoother experience by fostering a collaborative atmosphere.
- Prepare a checklist of questions to discuss.
- Be transparent about any concerns or special requests.
- Ask for regular updates on installation progress.
- Thou must work together to ensure a successful outcome.
Final Checks Before Installation
Before moving forward with your flooring installation, conduct a final walkthrough to confirm that everything is in place. This includes ensuring the environment is clear of obstacles, checking for any repairs needed, and reviewing measurements to guarantee accuracy. Verify that all materials have arrived and are in good condition. Confirm your installation team’s arrival timing and communicate any last-minute changes to them promptly.
How-To Inspect the Subfloor
Inspecting your subfloor is crucial to avoid issues later on. Look for signs of damage, such as cracks, mold, or moisture. Use a level to check for evenness; any irregularities may need addressing prior to installation. Ensure that your subfloor is clean and dry to provide a solid foundation for your new flooring.
Factors to Address Pre-Installation
Several factors need your attention before installation day arrives. Evaluate the humidity and temperature levels in your home, as these can affect flooring materials. Verify that your subfloor meets specific requirements based on the type of flooring you’re installing, and make necessary repairs or adjustments. You should also clear the installation area of furniture and any personal items that may hinder the work process.
- Humidity levels should generally be between 30%-50%.
- Ensure the area is vacuumed and free of debris.
- Your installation team should have easy access to the work area.
- Confirm that any needed permits are secured.
- This will help prevent delays and issues during installation.
Addressing these pre-installation factors will not only simplify the process but also help optimize the flooring’s performance. Familiarize yourself with the specific requirements for your chosen flooring type, such as acclimation periods or moisture barriers. Ensure your home is adequately ventilated, especially in high-humidity areas, and consider protective measures for any vulnerable surfaces during the installation.
- Consult the manufacturer’s guidelines for best practices.
- Communicate openly with your installation team regarding any concerns.
- This proactive approach will ensure lasting satisfaction with your flooring investment.
Final Words
Conclusively, preparing your home for a flooring installation process involves careful planning and organization. Ensure your space is cleared of furniture, and safeguard your belongings to prevent damage. Check for any necessary repairs in subflooring and communicate clearly with your installation team about your expectations. By following these steps, you create an efficient working environment that allows for a seamless installation, ultimately enhancing the beauty and functionality of your home.
