
Vinyl dry-back floors last longer when you sweep daily, damp-mop weekly, clean spills immediately, use furniture pads, avoid abrasive cleaners, and follow manufacturer care instructions to preserve finish and prevent edge lift.

Understanding Dry Back Vinyl Construction
Construction of dry-back vinyl pairs a decorative vinyl layer and wear film with a rigid backing that bonds directly to the subfloor, so you must ensure the substrate is flat, dry, and clean to prevent future lifting or telegraphing.
The Role of Adhesive in Long-Term Stability
Adhesive choice governs bond strength and lifespan, so you should use manufacturer-recommended adhesives, apply the correct trowel notch, and press the flooring firmly to eliminate voids that invite moisture and edge failure.
Impact of Wear Layers on Floor Longevity
Wear layer thickness and material determine scratch and abrasion resistance, so you should select heavier wear layers for high-traffic zones and premium coatings for better stain and scuff protection.
Choosing a thicker wear layer-measured in mils-gives you measurable durability: 20+ mil for commercial-grade traffic, 12-15 mil for residential high-use, and protective finishes like urethane or aluminum-oxide additives further reduce maintenance and extend the floor’s usable life when you clean and avoid harsh abrasives.
Daily Maintenance and Debris Control
Sweep high-traffic areas daily to keep grit off your dry back vinyl; use a soft-bristle broom or microfiber dust mop to prevent scratching.
Essential Tools for Surface Grit Removal
Choose a soft-bristle broom, microfiber dust mop, and a vacuum with a hard‑floor setting so you remove grit without abrading the wear layer.
Preventing Micro-Abrasions Through Routine Care
Perform light cleanings after spills, use felt pads under furniture, and avoid dragging items so you minimize tiny scratches that accumulate over time.
Inspect high-traffic zones weekly and address abrasive grit immediately; damp-mop with a neutral pH cleaner and a microfiber pad so you lift fine particles without leaving residue. Place commercial-grade entry mats at exterior doors and ask occupants to remove heavy-soled shoes during peak use to limit tracked debris. Replace worn felt pads, rotate rugs monthly, and schedule deeper cleanings with manufacturer-approved products every three to six months.
Preventative Strategies for Surface Protection
Protect your dry back vinyl by combining regular dust removal, soft-soled footwear policies, and targeted area rugs to minimize surface wear and stain exposure.
Utilizing High-Quality Furniture Glides and Pads
Use high-quality furniture glides and pads to prevent scratches and distribute weight, replacing worn pads periodically to keep your floor intact.
Implementing Effective Walk-Off Mat Systems
Place walk-off mats at all entrances to trap grit and moisture, selecting low-backing mats that won’t impede adhesion or trap water beneath your vinyl.
Select mats with dense, low-profile fibers for scraping action, anchor them to prevent curling, clean them frequently, and ensure backing breathability so moisture doesn’t accumulate and damage the adhesive or underlayment under your floor.
Managing Environmental Factors
Control humidity and sunlight to prevent cupping, shrinkage, and adhesive failure; you should monitor moisture near entryways and use mats to trap water.
- Monitor humidity with a hygrometer and inspect seams after seasonal changes.
- Use entry mats and felt pads under furniture to limit moisture and abrasion.
- Assume that intense afternoon sun requires films or shades to prevent rapid fading.
Regulating Temperature and Humidity Levels
Keep humidity between 40-60% and indoor temperature steady to protect adhesive bonds and plank stability; you can use dehumidifiers, humidifiers, and smart thermostats.
Humidity & Temperature Guide
| Target | Tools |
|---|---|
| 40-60% RH; 18-24°C (64-75°F) | Hygrometer, thermostat, dehumidifier, humidifier |
Mitigating UV Exposure and Sun Fading
Block direct sunlight using window films, blinds, or curtains to slow color fade and vinyl brittleness; you should rotate rugs and furniture to even out exposure.
Apply UV-filtering film on south- and west-facing windows, install UV-rated blinds, and use area rugs; you should regularly reposition furniture, rotate rugs, and clean windows to minimize UV penetration and keep colors consistent over time.
Targeted Stain and Scuff Remediation
Tackle stubborn stains and scuffs promptly with a soft-bristle brush and vinyl-safe cleaner; test in an inconspicuous area first and blot rather than rub to protect the wear layer.
Professional Methods for Removing Stubborn Marks
Apply mineral spirits or isopropyl alcohol sparingly on a cloth for ink or grease, then rinse and dry; consult manufacturer guidance for chemical compatibility to avoid damage.
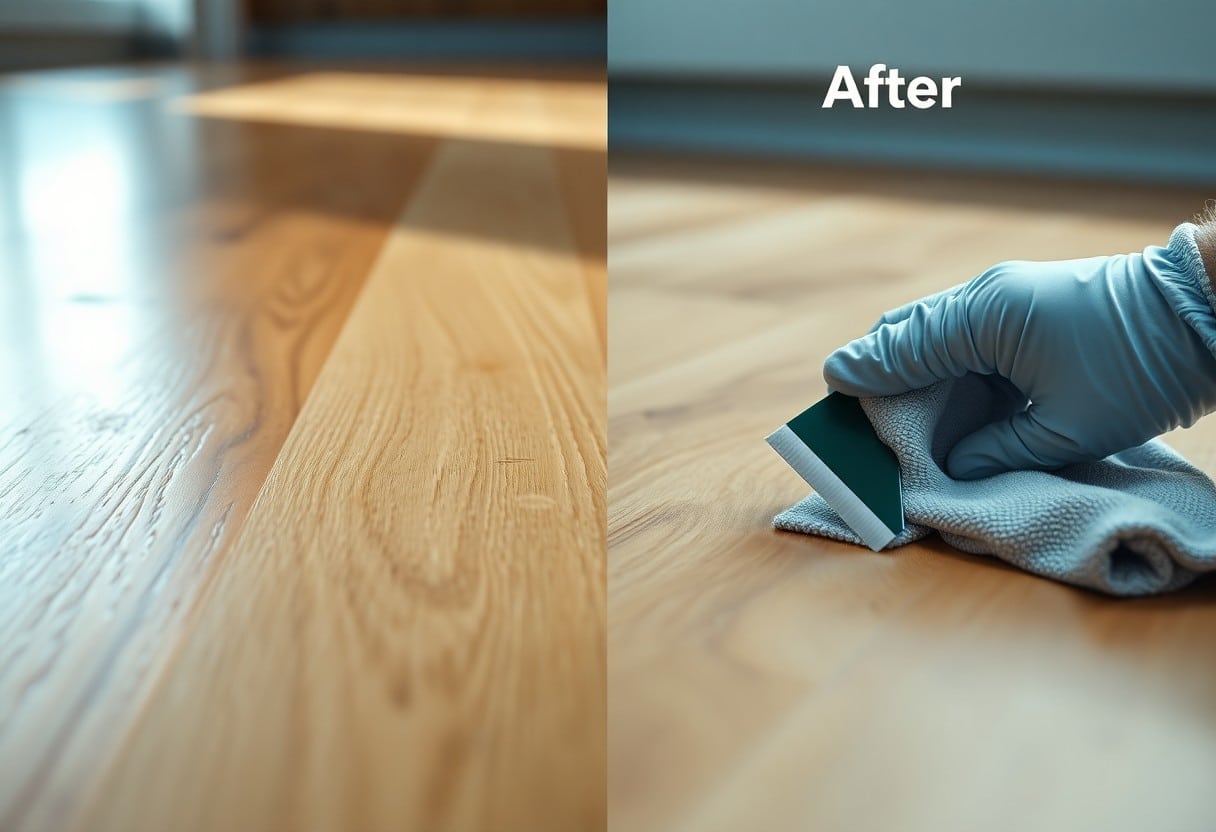
Addressing Minor Adhesive or Plank Lifting
Gently press lifted edges back into place using a roller and apply a small amount of vinyl adhesive beneath seams; secure with weights until set, then clean excess glue promptly.
Inspect the plank edges and underlay to assess whether you can fix them yourself or need professional help. You can remove old adhesive gently with a plastic scraper and a small amount of adhesive remover, wiping dry before re-gluing. Use a notched applicator to spread a thin bead of manufacturer-recommended vinyl adhesive, press the plank into place, and roll to expel air. Allow the adhesive to cure per instructions before resuming normal traffic, and call a pro for persistent buckling or widespread lifting.
Conclusion
Upon reflecting, you should extend your dry-back vinyl’s lifespan by sweeping and vacuuming regularly, using pH-neutral cleaners, placing protective mats, wiping spills immediately, and avoiding abrasive tools; consistent gentle maintenance preserves finish and prevents edge lifting for years.
