
Just because you want a new floor doesn’t mean you have to hire a professional; with this step-by-step guide, you can tackle DIY laminate flooring installation yourself. This informative post will equip you with necessary tips and tricks to make your flooring project straightforward and satisfying. You’ll learn about preparation, tools, and techniques to ensure that your new floor not only looks stunning but lasts for years to come. Get ready to transform your space with your own hands!
Types of Laminate Flooring
To help you choose the right laminate flooring, it’s vital to understand the various types available. Each type has unique characteristics suited for different environments and style preferences. Below is a breakdown of the most common types:
| Type | Description |
|---|---|
| High-Pressure Laminate | Durable surface with high resistance to wear. |
| Direct-Pressure Laminate | Affordable with a quick installation process. |
| Water-Resistant Laminate | Ideal for areas prone to moisture. |
| Luxury Laminate | High-end look with added features like embossing. |
| Sound-Absorbing Laminate | Designed to reduce noise levels in your home. |
Perceiving the variety of options can ease your decision-making process when selecting the perfect laminate flooring for your space.
High-Pressure Laminate
One of the most durable options, high-pressure laminate is manufactured under high heat and pressure, resulting in a surface that is resistant to scratches, stains, and fading. This makes it an excellent choice for high-traffic areas in your home.
Direct-Pressure Laminate
An alternative that is both affordable and user-friendly, direct-pressure laminate combines layers of resin, fiberboard, and wear layer. Its quicker installation process allows you to achieve a stylish look without the hefty price tag.
With its simpler manufacturing process, direct-pressure laminate generally has thinner boards compared to its high-pressure counterpart. This character makes it more suitable for light to moderate foot traffic areas, such as bedrooms or home offices. You can still enjoy a variety of designs, making it a versatile option for your home decor needs.
Factors to Consider Before Installation
It’s vital to evaluate several factors before submerging into your laminate flooring installation. Consider the following:
- Your room’s humidity levels
- The subfloor’s condition
- Foot traffic in the area
- Your preferred style and color
Knowing these aspects can help you achieve the best outcome for your flooring project.
Underlayment Options
Before you lay down your laminate flooring, selecting the right underlayment is vital. It serves as a moisture barrier, soundproofing layer, and provides cushioning for the boards. There are various types, including foam, cork, and underlayment with built-in moisture barriers. Make sure to choose one that complements your flooring type and the specific needs of your room.
Room Acclimation
On the day of installation, allow your laminate planks to acclimate to the room’s temperature and humidity for at least 48 hours. Placing them heaped in the area where they will be installed helps to minimize expansion or contraction after installation. This process ensures that your new flooring will perform as expected over time.
To ensure a successful installation, maintaining a consistent environment before laying laminate flooring is important. This means keeping your room temperature stable and avoiding extreme humidity. By allowing your planks to adjust to the space, you reduce the risk of warping or buckling, which can occur when the laminate undergoes sudden changes in temperature and moisture. Your attention to this detail will contribute significantly to the durability and aesthetic of your finished flooring.
Step-by-Step Installation Process
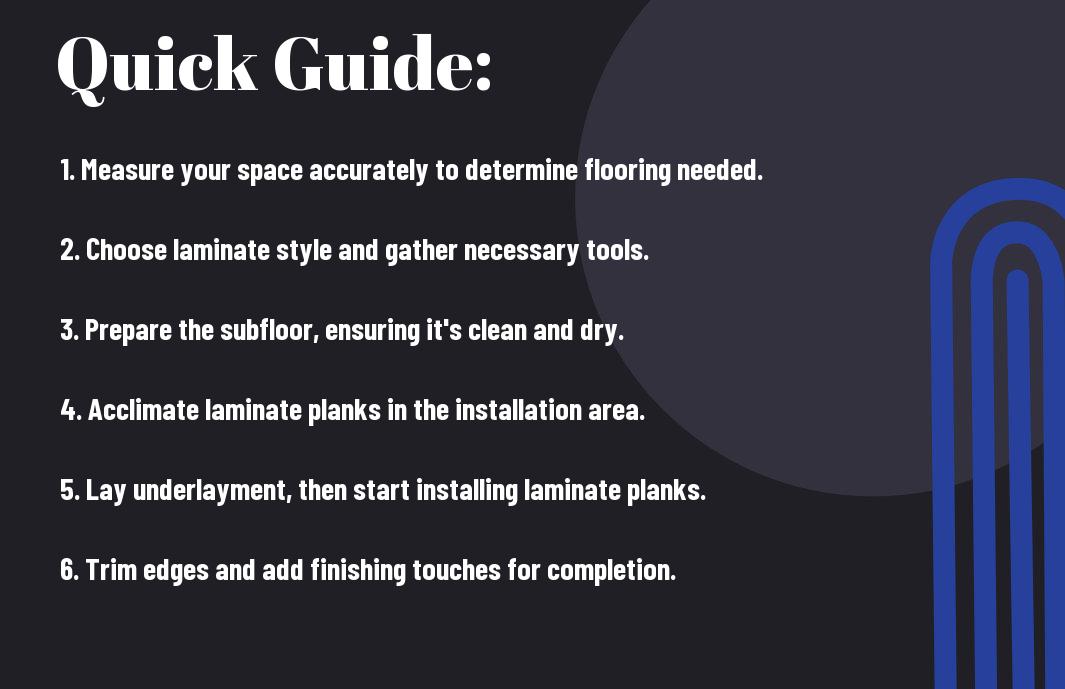
Not every DIY project is the same, but when it comes to installing laminate flooring, a systematic approach will lead to the best results. Follow these imperative steps to ensure your flooring looks great and stands the test of time.
| Steps | Description |
|---|---|
| 1. Preparing the Workspace | Clear the area of furniture and debris for an efficient installation. |
| 2. Cutting and Fitting the Boards | Measure and cut boards to fit your space properly. |
| 3. Installation Methods | Choose an appropriate method for securing the boards. |
Preparing the Workspace
With a clean and organized workspace, you set yourself up for smoother installation. Remove furniture, take out old flooring if necessary, and ensure the subfloor is dry and clean. This preparation is key to giving your laminate the best foundation.
Cutting and Fitting the Boards
While cutting and fitting the boards, ensure you have accurate measurements. This phase requires attention to detail to avoid gaps or overlaps in your flooring.
This step involves measuring the dimensions of your room and cutting the laminate boards accordingly. Use a straight edge and a sharp saw for clean cuts, as precise fitting ensures the best interlocking. Always account for expansion gaps near walls to allow for flooring movement.
Installation Methods
Workspace is vital during the installation methods phase. You have to determine if you want to use a floating floor technique or glue down the boards based on your preference and the feel you desire.
Fitting your boards using the floating method is common since it simplifies the process. This method uses interlocking joints, allowing the flooring to expand and contract naturally with temperature changes. Alternatively, glue-down techniques offer more stability but require additional time and precision during installation. Choose a method that aligns with your skills and project requirements.
Tips for a Successful Installation
For a seamless laminate flooring installation, planning and preparation are key. Consider these tips for a successful project:
- Ensure your subfloor is clean and level.
- Leave adequate space for expansion around the perimeter.
- Acclimate your laminate planks to the room temperature.
- Follow the manufacturer’s instructions closely.
Thou can achieve stunning results with attention to detail.
Tools You Will Need
Little preparation goes a long way in ensuring you have all the necessary tools for your laminate flooring installation. Key tools include a measuring tape, saw (circular or jigsaw), spacers, a hammer, underlayment, and a tapping block to ensure secure joints. Additionally, having a pull bar can aid in tight spaces. Your tool selection will significantly impact the ease and quality of your work.
Common Mistakes to Avoid
Will you try to avoid common pitfalls that can hinder your laminate flooring installation? Understanding these errors will help improve your results.
Mistakes such as neglecting to acclimate the planks, failing to inspect the subfloor, or skimping on spacing can lead to issues down the line. Often, homeowners rush through preparation, leading to uneven floors or expansion problems. Always take the time to measure properly and follow guidelines to ensure a lasting finish. By sidestepping these errors, you will pave the way for a smoother installation experience.

Pros and Cons of Laminate Flooring
All flooring options come with their advantages and disadvantages, and laminate flooring is no exception. Understanding the pros and cons can help you decide if it’s the right choice for your space. Below is a breakdown of laminate flooring’s strengths and weaknesses:
| Pros | Cons |
|---|---|
| Affordable | May scratch easily |
| Easy to install | Can’t be refinished |
| Variety of styles | Not as durable as hardwood |
| Resistant to stains | Limited sound insulation |
| Low maintenance | May fade in sunlight |
Advantages of Laminate Flooring
Clearly, laminate flooring is a popular choice for many homeowners due to its affordability and ease of installation. You can find a variety of styles and finishes that mimic natural materials like wood or stone, providing aesthetic appeal without the high price tag. This low-maintenance option is resistant to stains and spills, making it an excellent choice for busy households.
Disadvantages to Consider
There’s no perfect flooring solution, and laminate is no exception. While it offers several benefits, it also comes with limitations that you should be aware of before making your decision.
Laminate flooring, while attractive, is susceptible to scratching and may not hold up as well as hardwood or tile under heavy foot traffic. Additionally, you cannot refinish laminate once it starts to show wear, which can necessitate a full replacement. Sound insulation may also be lacking, resulting in a noisier environment compared to other materials. Finally, direct sunlight can cause fading over time, affecting the aesthetic of your floors. Understanding these drawbacks is vital as you weigh your flooring options.
Maintenance and Care Tips
Many homeowners enjoy the beauty and durability of laminate flooring. To keep your floors looking their best, follow these maintenance tips:
- Regularly sweep or vacuum to remove dirt and debris.
- Wipe up spills promptly to prevent water damage.
- Use a damp mop and a gentle cleaner for deeper cleaning.
- Avoid abrasive materials that can scratch the surface.
- Keep furniture legs padded to prevent dents.
Thou will ensure your laminate floor retains its elegance with these simple practices.
Daily Maintenance
Maintenance is key to prolonging the life of your laminate flooring. Make it a habit to sweep or vacuum daily to minimize dirt build-up and prevent scratches. For spills, use a soft cloth to absorb the liquid immediately. Additionally, place mats at doorways to catch dirt and moisture before they reach your flooring, which will further protect its surface.
Long-Term Care Strategies
Maintenance requires proactive strategies to ensure the longevity of your laminate flooring. Elevating humidity levels in your home can help, especially in dry conditions, to prevent planks from warping. Consider using furniture coasters to reduce weight pressure transfer onto the floor. Avoid dragging heavy objects across your laminate to prevent damaging scratches. Additionally, periodically check for any signs of wear, addressing issues promptly.
It is also beneficial to invest in a quality laminate floor cleaner specifically designed for the material. Regularly cleaning with the appropriate product can enhance the floor’s shine while providing lasting protection against stains and wear. You might also consider reapplying laminate floor polish as needed, which can help restore its appearance over time.
To wrap up
Ultimately, installing laminate flooring can be a rewarding project that enhances your space and saves you money. By following this step-by-step guide, you can ensure a smoother installation process and achieve professional-looking results. Keep your tools handy, stay organized, and utilize the tips and tricks provided to tackle challenges effectively. With patience and dedication, you’ll transform your floors and enjoy your new environment for years to come.
