
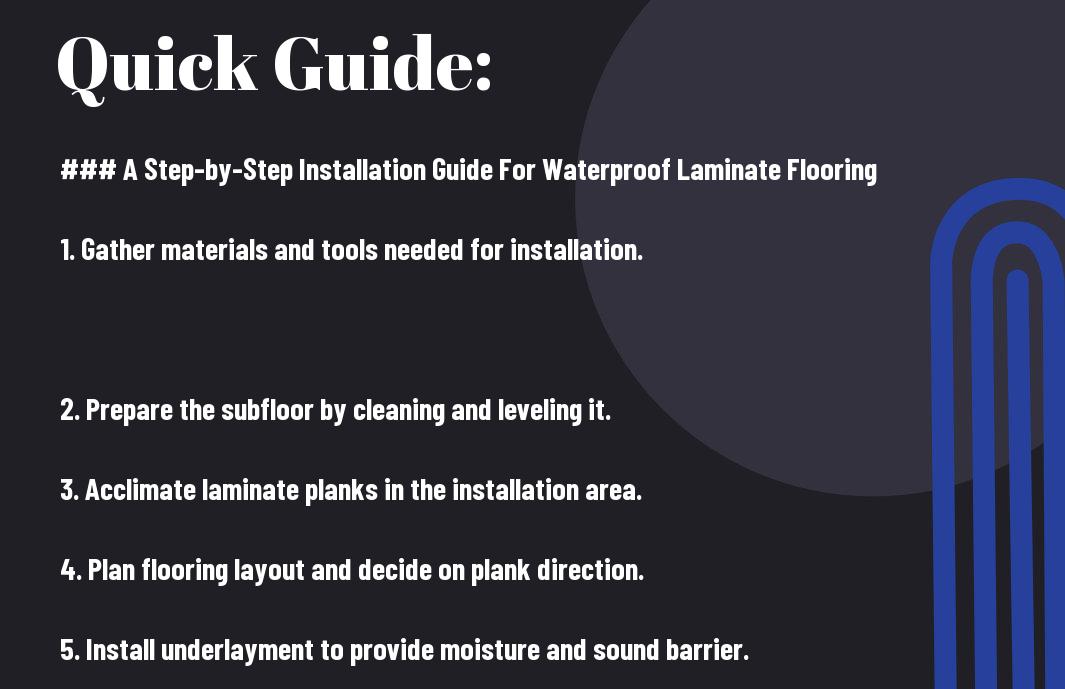
This comprehensive guide will walk you through the process of installing waterproof laminate flooring in your home, making it a simple DIY project you can tackle with confidence. You’ll discover the vital tools and materials needed, step-by-step instructions for a seamless installation, and helpful tips to ensure your new floors not only look great but also stand up to moisture and wear. Get ready to enhance your space with beautiful, functional flooring that you can install on your own!
Understanding Waterproof Laminate Flooring
Before you probe installation, it’s vital to understand what waterproof laminate flooring is and how it can benefit your home. Designed to withstand moisture, these floorboards mimic the appearance of traditional wood or stone while offering enhanced durability and ease of maintenance. This makes them an excellent choice for areas prone to spills and humidity, such as kitchens and bathrooms.
Types of Waterproof Laminate Flooring
Laminate flooring is available in several varieties, each suited to different needs and preferences. Here’s a breakdown of the main types:
| Type | Description |
| Engineered | Combines layers of materials for extra durability. |
| High-density fiberboard (HDF) | Provides strong resistance to moisture and wear. |
| Vinyl laminate | Offers a water-resistant layer while resembling wood. |
| Plastic laminate | Highly resistant to staining and water damage. |
This selection ensures that you find the perfect match for your home’s style and functionality needs.
Pros and Cons of Waterproof Laminate
You will find that waterproof laminate flooring has distinct advantages and potential drawbacks, making it important to weigh these aspects before making a decision. Below are the pros and cons to consider:
| Pros | Cons |
| Resistant to moisture | Can be prone to scratching |
| Easy installation | Limited repair options |
| Variety of designs | May emit VOCs |
| Cost-effective | Less authentic feel than hardwood |
| Low maintenance | Not suitable for heavy water exposure |
It’s beneficial to understand these factors thoroughly before selecting waterproof laminate flooring for your project. Assessing your lifestyle and the specific areas you plan to install the flooring can help you make a well-informed choice.
It’s important to evaluate both the pros and cons of waterproof laminate flooring in order to choose what’s right for your space. These characteristics shape your experience and satisfaction with the product. Understanding the trade-offs will empower you to make a choice that aligns with your long-term needs and aesthetic preferences.
Pre-Installation Preparation
It is crucial to take the time for proper pre-installation preparation to ensure a smooth and successful laminate flooring project. This phase allows you to set the stage for a stress-free installation by organizing your work area, gathering necessary tools, and measuring your space accurately. Following these steps will help you avoid mistakes and ensure a beautiful finish.
Tools and Materials Needed
Needed for your installation, you’ll require a few crucial tools and materials including a tape measure, utility knife, straight edge, spacers, and a flooring underlayment. Additionally, gather your waterproof laminate planks, tapping block, hammer, and a miter saw for any edge cuts. Having these items on hand will streamline your process.
Measuring Your Space Accurately
Little things can make a big difference. Taking precise measurements of your space ensures that you purchase the correct amount of laminate and minimizes waste during installation.
It’s important to measure the length and width of each room where you intend to install the flooring. Always measure in multiple locations, especially in irregular-shaped areas, to get the most accurate dimensions. You should also account for the space around doorways and any fixed objects. Adding about 10% to your total square footage will provide a buffer for potential mistakes or future repairs. This attention to detail will ultimately save you both time and money.

Factors to Consider Before Installation
Your installation process goes smoother when you account for several factors. Consider the following:
- Room size and layout
- Moisture levels
- Type of laminate flooring
- Tools and materials needed
- Expected traffic and usage
Thou should always prepare adequately to achieve the best results.
Subfloor Requirements
With proper subfloor preparation, your laminate flooring installation will be more successful. Ensure that your subfloor is clean, dry, and level, as any imperfections can affect your new flooring’s performance. It’s advisable to use a moisture barrier if you’re installing over concrete or in moisture-prone areas.
Acclimation Period
Requirements for acclimation should be observed to avoid issues with expansion or contraction. Before installation, allow your laminate planks to sit unopened in the room where they’ll be installed for at least 48 hours. This process helps the planks adjust to the room’s temperature and humidity levels.
For instance, if you live in a particularly humid environment, allowing your laminate flooring to adjust can prevent warping or buckling after installation. Also, if you’re transitioning from a cold to a warm space, the acclimation period helps mitigate any potential stress on the boards. Don’t forget to lay out the planks in the room during this period, as this can also aid in choosing the best layout for aesthetic appeal.
Step-by-Step Installation Process
To install waterproof laminate flooring effectively, you’ll need to follow a structured approach to ensure a seamless fit and finish. The process can be broken down into several easy-to-follow steps that will lead you to your newly transformed space. Below is a table outlining these key steps:
| Preparing the Subfloor | Ensure your subfloor is clean, dry, and level before installation. |
| Installing Underlayment | Lay an appropriate underlayment for added water resistance and comfort. |
| Laying the First Row | Start with the first row against the wall for a straight baseline. |
| Continuing the Installation | Work your way across the room, connecting planks as you go. |
| Finishing Touches | Install baseboards and transitions for a polished look. |
Preparing the Subfloor
While you may be eager to lay your new flooring, the first step is ensuring your subfloor is perfectly prepared. This involves cleaning any dust or debris, checking for moisture issues, and leveling any uneven spots to create a solid foundation for your laminate installation.
Installing Underlayment
Installation of the underlayment is necessary for dampening noise and providing comfort. Choose a high-quality underlayment specifically designed for waterproof laminate. Lay it out evenly across the entire area, following the manufacturer’s instructions, and allow it to overlap at the seams for added protection against moisture.
To help in this step, make sure to align the edges of the underlayment without any gaps. When you reach corners, carefully trim the underlayment, ensuring a snug fit. This attention to detail will enhance the overall performance of your flooring and prolong its life.
Laying the First Row
For your first row, it’s important to establish a straight edge for the rest of your flooring. You’ll want to place the planks end to end along the longest wall, ensuring the grooves face the wall and click them securely into place.
Plus, taking time to use spacers will help maintain the correct expansion gap between the planks and the wall. This gap is vital for allowing the material to expand and contract with changes in temperature, ensuring your beautiful new floor stays in good condition for years to come.
Continuing the Installation
Assuming you’ve successfully laid the first row, you can now move on to the subsequent rows. Align each new plank with the previous one, clicking them into place while maintaining the staggered pattern recommended by the manufacturer.
For instance, be sure to stagger the seams of the planks, as this not only improves the overall aesthetic appeal but also enhances the structural integrity of the floor. Keep checking for alignment and spacing as you proceed to ensure the installation stays consistent and professional-looking.
Finishing Touches
Preparing the final touches involves the installation of baseboards and any necessary transition strips. This step will give your laminate flooring a complete and polished appearance that blends seamlessly into your space.
Touches such as caulking around transitions and ensuring no gaps remain will finalize your work. By ensuring these finishing elements are installed properly, you’ll enhance both the visual appeal and functionality of your new waterproof laminate flooring.
Tips for Professional-Looking Results
Now that you’re ready to install your waterproof laminate flooring, here are some tips to achieve a clean and polished finish:
- Ensure your subfloor is clean and level before installation.
- Use spacers to maintain expansion gaps around the perimeter.
- Install planks in a staggered pattern to enhance stability.
- Take your time with cuts and fit for a seamless look.
This attention to detail will help you create a professional-looking floor that enhances your space.
Working Around Obstacles
Little challenges can arise when installing laminate around door frames, vents, or stairs. Utilize a handsaw or jigsaw for precise cuts, and don’t hesitate to remove door frames if necessary to achieve a clean fit. Adjust your planks accordingly to ensure the finished product remains visually appealing and functional.
Proper Seam Techniques
To ensure a flawless installation, focus on the seams of your laminate flooring. A tight seam prevents moisture infiltration and maintains the overall aesthetics of your floor. Use the manufacturer’s recommended locking system to secure the planks together for maximum stability.
Plus, taking the time to align your planks properly will minimize the appearance of gaps between seams. Ensure that each piece clicks into place securely, following the interlocking method outlined in your flooring’s installation guide. This approach not only enhances durability but also preserves the elegance of your new waterproof laminate floor.
Maintenance and Care
Not all laminate flooring is the same, and maintaining your waterproof laminate can prolong its lifespan and keep it looking great. Regular care and proper cleaning techniques will help sustain the beauty of your floors while preventing damage from spills and wear over time.
Daily Cleaning Practices
Even a little daily attention can go a long way in keeping your waterproof laminate flooring in top shape. Simply sweeping or vacuuming to remove dust and debris can prevent scratching, and using a lightly damp mop ensures your floor stays free of grime without overwhelming it with moisture.
Long-Term Preservation Tips
Maintenance involves more than just daily cleaning; it’s about protecting your investment for the long haul. To ensure your waterproof laminate flooring remains in excellent condition, consider the following tips:
- Avoid excessive water exposure.
- Use furniture pads to prevent scratches.
- Occasionally check for any loose or damaged planks.
- Keep your indoor humidity levels consistent.
Knowing how to maintain and care for your flooring will significantly enhance its longevity.
Care for your laminate flooring goes hand-in-hand with preservation. Making thoughtful choices about cleaning products and techniques can prevent damage and maintain the floor’s appearance over time. Use pH-balanced cleaners recommended for laminate surfaces, and avoid harsh chemicals or abrasive scrubbers that could harm the finish. Adopting these practices will contribute to a clean and resilient floor.
- Use doormats at entry points to minimize dirt.
- Regularly check for scratches and repair as needed.
- Maintain consistent temperature and humidity levels.
- Refrain from dragging heavy furniture.
Knowing these care methods ensures your waterproof laminate flooring remains vibrant and durable for years to come.
Final Words
With this in mind, you now have a comprehensive step-by-step installation guide for waterproof laminate flooring that empowers you to tackle this DIY project with confidence. By following these instructions, you can ensure a successful installation that enhances both the beauty and functionality of your space. Take your time, gather the right tools, and don’t hesitate to refer back to this guide as needed. Enjoy the process and relish the satisfaction of transforming your home with your own hands.
