
Just like any home improvement project, installing SPC vinyl flooring can be straightforward if you approach it with the right knowledge and tools. This guide will equip you with step-by-step instructions to help you successfully lay SPC vinyl flooring in your space. You’ll learn about preparation, tools needed, and installation techniques, ensuring a smooth process from start to finish. With the right guidance, you can transform your floors and enhance the look of your home.
Selecting the Perfect SPC Vinyl Flooring
Choosing the right SPC vinyl flooring involves understanding your specific needs and preferences. You’ll find a wide array of options that suit different aesthetics, durability requirements, and environmental conditions. Consider factors such as the space you are flooring, your lifestyle, and how much foot traffic the area will experience. Assess the features that matter most to you, such as water resistance, thickness, and warranty, to make an informed decision.
Decoding SPC Vinyl: What Makes It Unique?
SPC vinyl stands out due to its multi-layer construction that combines a stone-polymer composite core, providing exceptional durability and stability. This unique design makes it water-resistant, enhances its resilience to impacts, and reduces the chances of long-term wear. Unlike traditional vinyl, SPC vinyl flooring mimics the beauty of natural wood and stone while offering added benefits such as ease of maintenance and a more comfortable underfoot feel.
Finding Your Style: Patterns, Colors, and Finishes
Selecting a style of SPC vinyl flooring that resonates with your aesthetic can elevate your space significantly. You’ll find a vast palette from light oak to deep walnut, and finishes that range from glossy to matte. Patterns vary from classic planks to modern tiles, allowing you to create the atmosphere you desire in your home.
The variety in styles allows you to integrate SPC vinyl flooring seamlessly with your existing decor. For contemporary settings, consider sleek, minimalist designs with subtle textures. If your taste leans towards rustic charm, opt for distressed finishes or wood-look options that mimic weathered boards. A lighter color can make a room feel more spacious, while darker tones provide warmth and richness. Evaluate sample swatches in your lighting to see how they complement your furniture and overall theme. Customizing your flooring choice enhances your home’s personality and creates a lasting impression on visitors.
Tools of the Trade: Essential Equipment for Installation
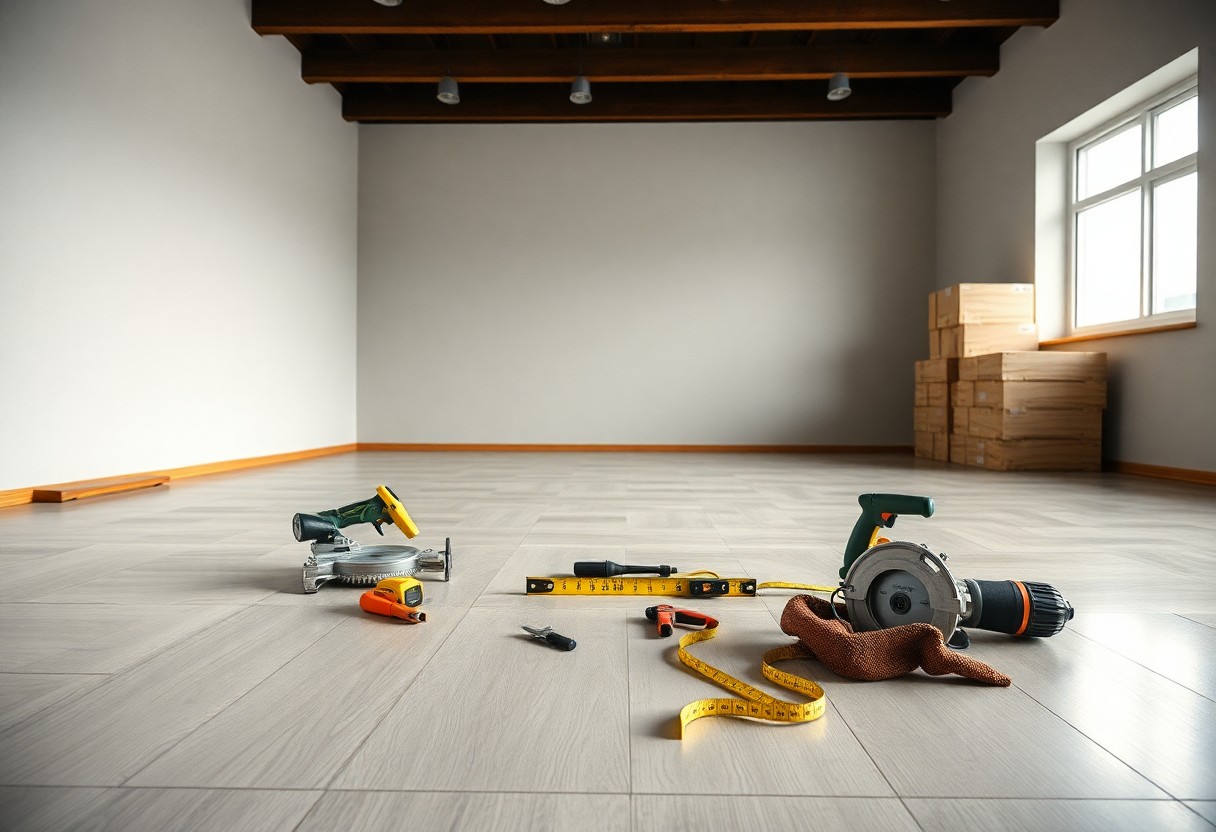
Having the right tools makes SPC vinyl flooring installation efficient and effective. Start with a utility knife for cutting planks, a measuring tape for accuracy, and a straight edge for clean cuts. A tapping block and pull bar are necessary for fitting planks snugly together. A hammer or mallet facilitates secure connections. Lastly, kneepads will keep you comfortable as you work on your knees. Equipping yourself with these tools ensures a smooth and professional finish.
The Must-Have Tools for a Smooth Process
To simplify your SPC vinyl flooring installation, a few must-have tools will streamline the process. A flooring extractor helps remove existing flooring, while a jigsaw cuts intricate patterns around obstacles. A chalk line aids in ensuring straight edges, and a level guarantees an even surface. These tools work together to minimize mistakes and save time, letting you focus on achieving an impeccable floor.
Safety Gear: Protecting Yourself While You Work
Prioritizing safety is necessary during your flooring project. Protective eyewear shields your eyes from debris and dust. Wearing a dust mask helps you avoid inhaling harmful particles, while gloves provide grip and protect your hands from cuts. Steel-toed boots guard your feet against heavy tools or materials. Each piece of safety gear plays a vital role in ensuring your well-being throughout the installation process.
Choose high-quality safety gear to enhance your protection while working. For instance, a dust mask rated N95 or higher can filter out fine particles that may be present during cutting or sanding. Safety glasses should fit comfortably to prevent them from slipping off, ensuring clear vision as you work. Investing in durable gloves enhances your grip and prevents injuries, boosting overall efficiency as you install your SPC vinyl flooring. Your safety and comfort should be top priorities, allowing you to focus on completing your project successfully.
Preparing Your Space: The Foundation of a Flawless Installation
Preparation is key to achieving a seamless SPC vinyl flooring installation. Start by removing all furniture and any existing flooring or coverings. Clean the area thoroughly, ensuring no dust, debris, or moisture remains. This foundational work sets the stage for a successful installation, helping to avoid future complications such as uneven surfaces or weak adhesion.
Evaluating Your Subfloor: Ensuring a Sturdy Base
Your subfloor must be stable and level to support SPC vinyl flooring properly. Check for any imperfections, such as cracks or dips, and address them accordingly. A flat surface prevents movement and wear over time, ensuring your flooring performs optimally and lasts longer. Additionally, make sure the subfloor is dry to prevent mold and mildew development.
Climate Control: Setting the Right Environment for Vinyl Flooring
Proper climate control is necessary before and during installation. Maintain a consistent temperature between 65°F and 85°F in the installation area, as extreme temperatures can affect the vinyl’s expansion and contraction properties. This level of control helps prevent gaps or warping after the flooring is laid.
Adjusting humidity levels is equally important; aim for a relative humidity of 30% to 50%. Too much moisture can cause the planks to swell, while excessively dry conditions may lead to shrinkage, compromising the integrity of your installation. Always acclimate your SPC vinyl planks in the space they will be installed for at least 48 hours to reduce the risk of dimensional changes due to environmental factors.
The Step-by-Step Dance: Mastering the Installation Process
| Step | Description |
| 1. Unboxing | Carefully open your flooring boxes, inspecting each plank for any defects. |
| 2. Acclimating | Let planks sit in the installation area for 48 hours to adjust to temperature and humidity. |
| 3. Preparing | Clean and level the subfloor, removing any debris that could affect installation. |
| 4. Cutting | Utilize a utility knife and straight edge for clean, precise cuts. |
| 5. Placing | Start in a corner, working your way out while ensuring even spacing. |
| 6. Locking | Engage the locking mechanisms for a secure fit. |
Unboxing and Inspecting Your Flooring: First Impressions Matter
After unboxing, take a moment to inspect each plank for scratches, dents, or any manufacturing defects. This initial check is vital; any damage found should be reported immediately to your supplier. Lay the planks flat to allow them to acclimate and become accustomed to the room’s temperature and humidity before installation.
Techniques for a Seamless Fit: Cutting, Placing, and Locking
Achieving a flawless installation relies on precision during the cutting, placing, and locking processes. Use a high-quality utility knife for cutting planks to fit around obstacles or in corners. Maintain even spacing with spacers to ensure proper expansion. As you place each plank, position the tongue into the groove at an angle for the best lock, and press down firmly to engage the locking mechanism. This method ensures a tight seam and minimizes the risk of gaps over time.
When cutting planks, score the surface gently, then break along the line for a clean edge. Ensure each plank fits snugly together; if there is too much resistance, double-check the angles and spacing. Use a tapping block to gently secure each piece without damaging the locking system. By following these techniques, you guarantee a durable and visually appealing floor that withstands daily wear and tear.
Life After Installation: Caring for Your SPC Vinyl Flooring
Your SPC vinyl flooring deserves the best care to maintain its beauty and durability. With proper maintenance, your floors can resist scratches and stains while retaining their aesthetic appeal. Establishing a routine will keep your floors looking pristine for years, allowing you to enjoy the benefits of your investment fully.
Routine Maintenance Tips to Keep Your Floors Pristine
To ensure your SPC floors remain in top condition, follow these maintenance tips:
- Sweep or vacuum regularly to remove dust and debris.
- Use a damp mop with a gentle cleaning solution.
- Avoid harsh chemicals that can damage the surface.
- Place mats at entryways to reduce dirt buildup.
- Immediately wipe up spills to prevent staining.
The routine upkeep will significantly extend the life of your flooring, making maintenance less of a chore.
Troubleshooting Common Post-Installation Issues
If you encounter issues after installation, quick action can prevent long-term damage. Common problems include gaps between planks, uneven surfaces, or warping due to humidity. Address temperature fluctuations; proper acclimation before installation can minimize these concerns. If you find gaps, evaluate if planks are too tightly installed or if humidity levels are causing expansion. For uneven spots, consider using an appropriate leveling compound.
Isolating these issues often lies in understanding their causes. For instance, gaps may also arise from foundational shifts. Regular climate control in your home, such as maintaining moderate humidity levels between 30%-50%, can stabilize your flooring. In case of warping, ensure the installation is compliant with best practices, as improper subfloor preparation impacts surface integrity. Checking manufacturer guidelines can provide specific solutions tailored to your flooring’s material properties.
Final Words
Following this guide, you are well-equipped to tackle your SPC vinyl flooring installation confidently. With the right preparation, tools, and techniques discussed, you can achieve a professional-looking result that enhances your space. By taking your time and following each step carefully, you ensure not only a beautiful floor but also one that lasts. Enjoy the transformation of your home with your newly installed SPC vinyl flooring.
